*Hi friend! I’ve decided to revisit this post 4+ years later to make some tweaks to the recipe, to share some thoughts about the holidays, and to add a sweet little toddler approved recipe you can add to the process for the tiny bubs in your life (or for you with that cup of morning coffee, yum).*
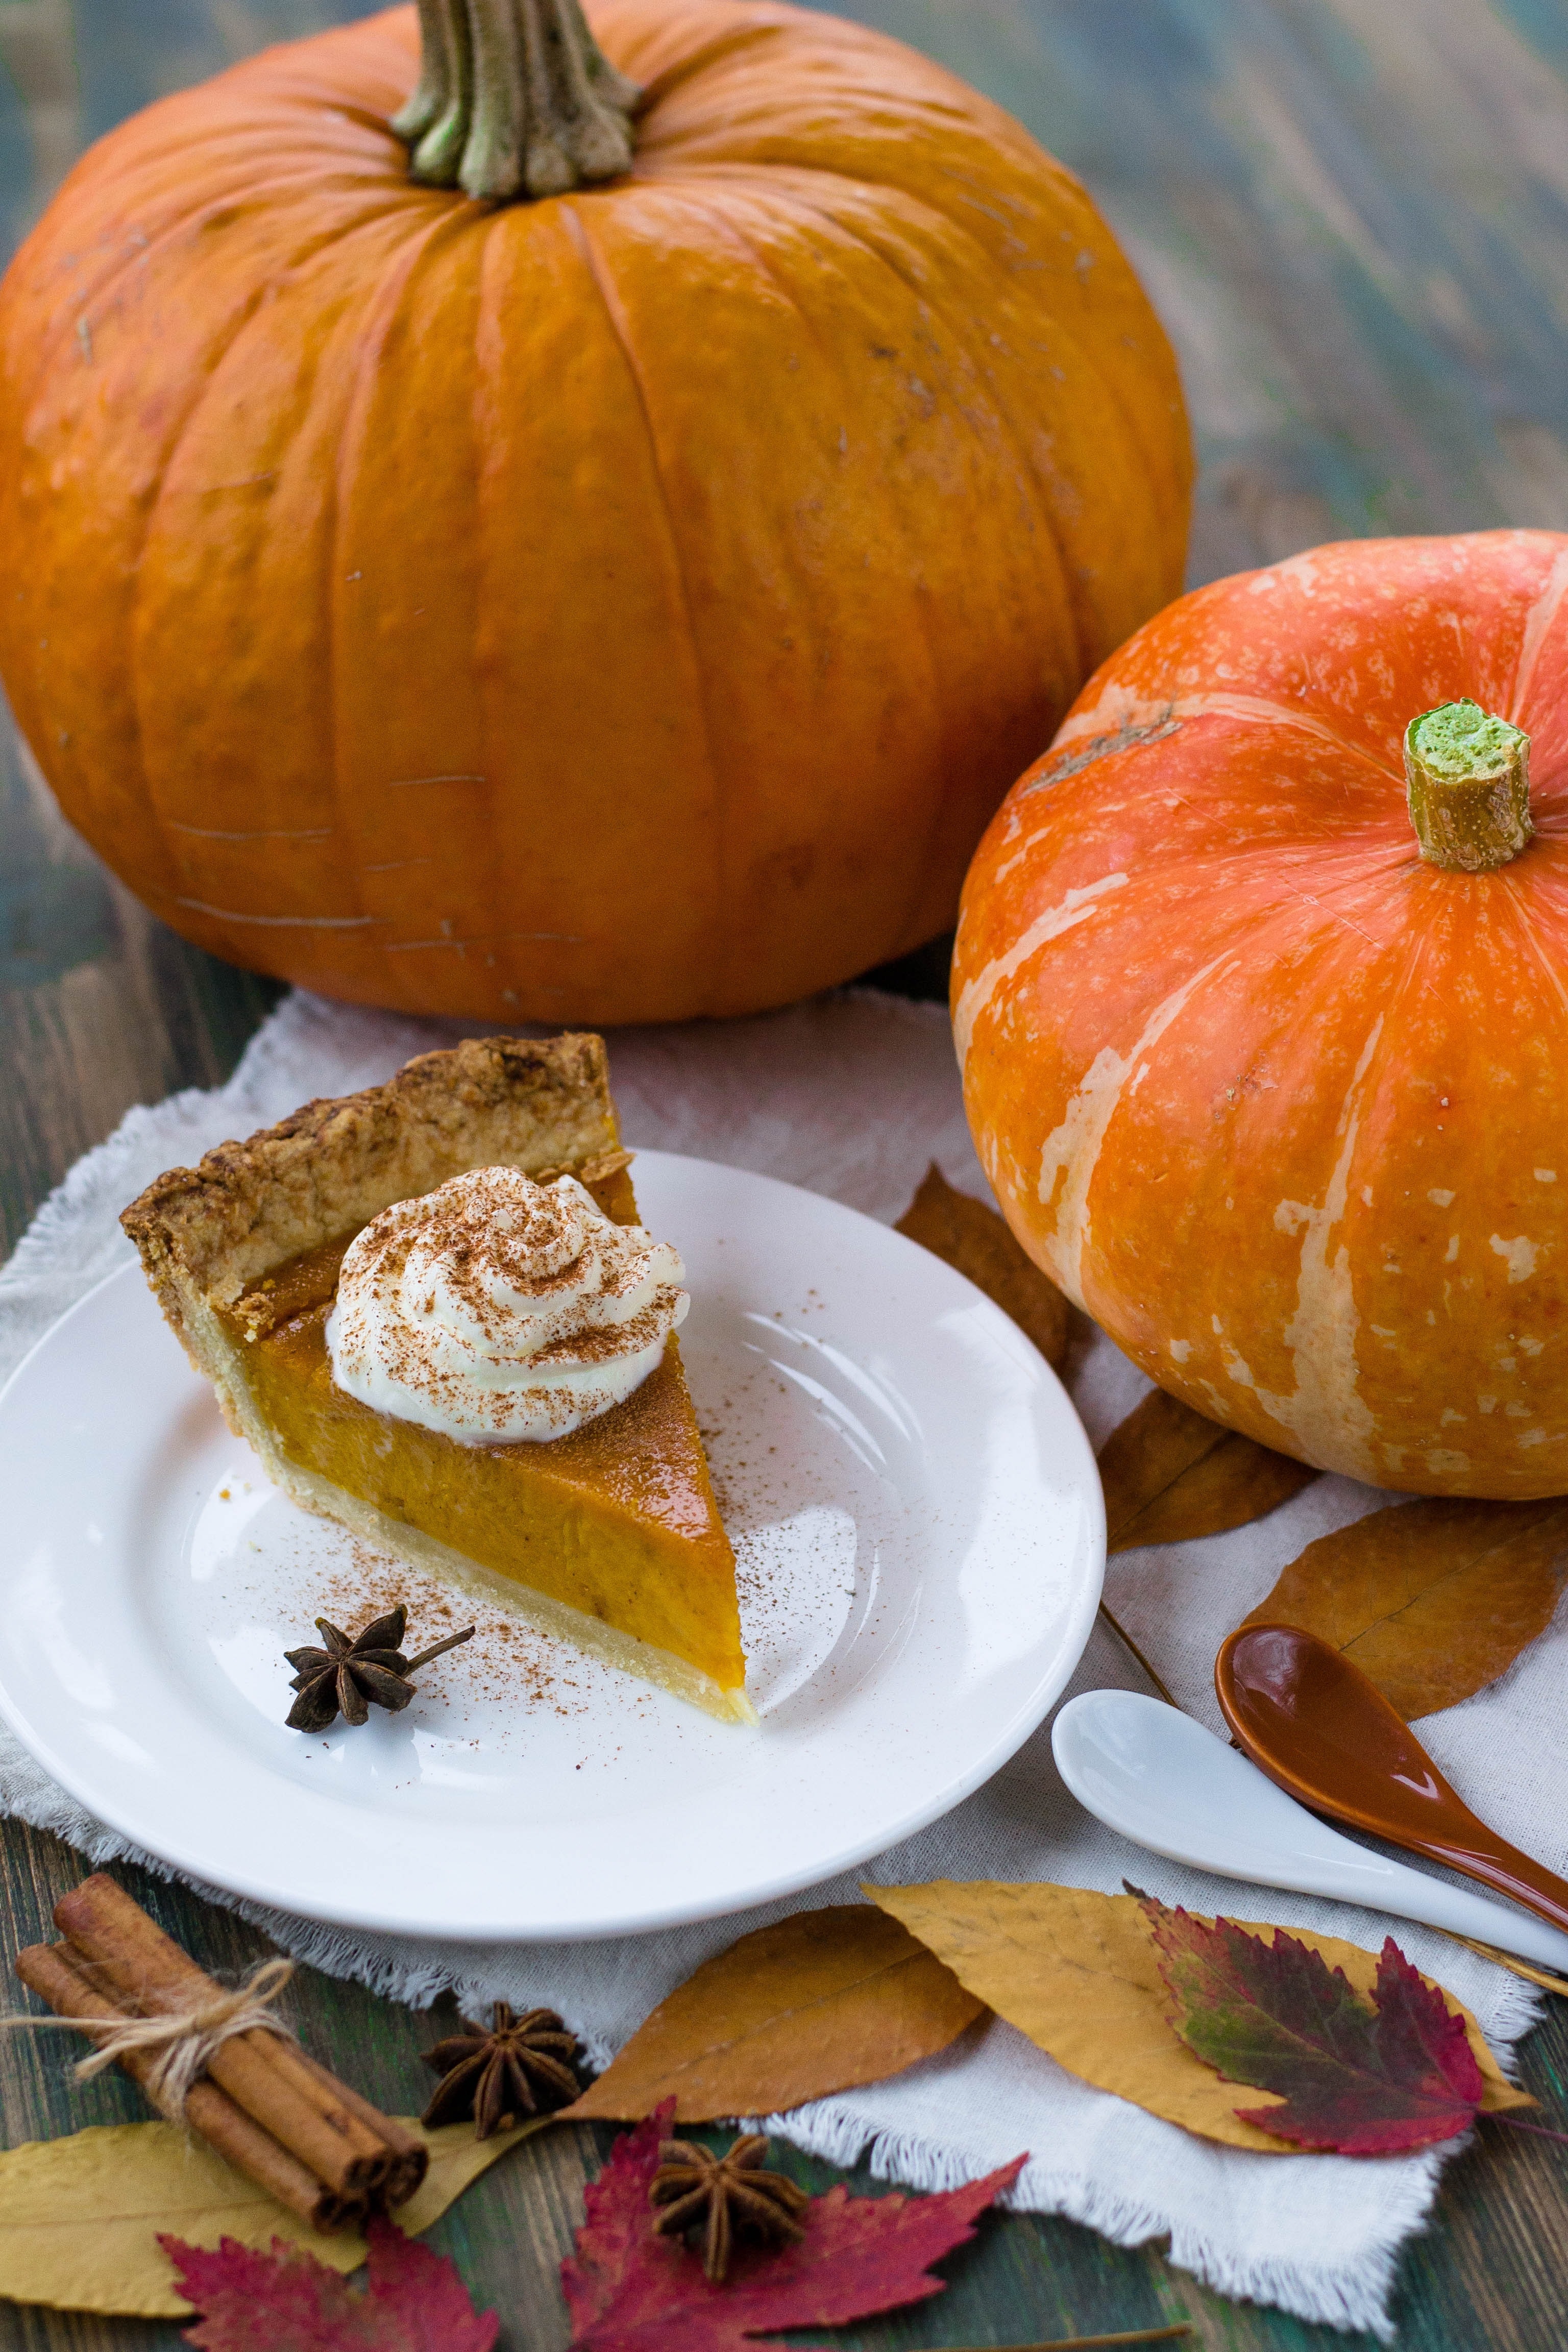
If you follow any of my posts or this blog, you know how much I love Fall. As the first leaves start to change their color, I have visions of family holiday get togethers, cozy sweaters and scarfs, and of course, pumpkin pie. What’s not to love? The perfect flaky crust, the creamy, sweet filling with just the right amount of spice, and the memories made while enjoy a big slice with the people I love.
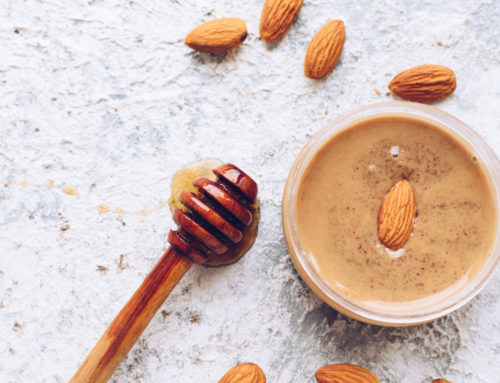
Over the course of three years of studying, experimenting, and eating, I have learned what I can and cannot eat, what foods heal and what foods hurt, and how to get creative with recipe changes and tweaks. I have learned that I can eat only very high quality gluten (ideally sourdough), and even then only on rare occasions. I am certain at this point that vegetable oils make me feel like junk. And I know that eating processed sugar makes me feel anxious and foggy. What I have come to find, though, is that I can enjoy pure maple syrup and raw honey in moderation, and I can also enjoy fat dairy from grass-fed cows without any issues (especially raw). This is great news because there are TONS of health benefits to be had from this full fat nectar of the gods (like CLAs and essential fatty acids, but read more for yourself HERE or HERE). If you can’t have dairy (because I know not everyone can), no need to fear because I have included an option for dairy free filling that is also so tasty!
Developing the filling for this pie was a labor of love, and I hope you enjoy every bite and bake with love in your heart and a smile on your face. Feel free to dance around the kitchen because, in my experience, it makes the food taste better.
Happy pie baking, friends! ♡
Our Favorite Pumpkin Pie
WHAT YOU NEED:
Crust:
-
- 1 cup coconut flour
- 1/4 cup arrowroot flour
- 1 c coconut oil and/or ghee, melted
- 2 TB maple syrup
- 1 TB organic vanilla
- 1/3 cup water
- 1/4 tsp sea salt
*OR sub my extra flakey sourdough crust from my Sourdough Sisterhood Ebook!
Filling:
- 2 cups fresh roasted organic pumpkin*
- 1/2 cup packed coconut sugar
- 3 tablespoon pure maple syrup
- 2 tsp ground or fresh grated ginger
- 2 tsp ground cinnamon
- 1 tsp ground nutmeg
- ¼ tsp ground cloves
- ½ tsp sea salt
- 1 cup heavy cream OR just the cream from 1 can of full fat coconut milk
- 4 pastured eggs
*You can sub 1 (15 oz) can of organic pumpkin purée, but I recommend roasting your own pumpkin because it’s just. so. good.
WHAT TO DO:
for the crusts:
- preheat oven to 325F
- in a medium bowl, mix flours and salt together
- melt coconut oil and mix with maple syrup and vanilla
- make a well in the center of your flour mixture, and pour in liquid mixture
- stir by hand until the mixture is smooth (it’ll be runny until water is added)
- pour in the water and stir with hands until thickened
- press batter into a pie tin, and spread with fingers until evenly spread and covering entire tin
- poke crust with a fork to prevent bubbles and bake for 15-20 minutes until the crust is just slightly golden
for the pie:
- turn up your oven to 375F
- blend pumpkin, coconut sugar, maple syrup, ginger, cinnamon, nutmeg, cloves, and salt in a food processor or Vitamix until smooth
- move mixture to a pot set to low heat and stir until warm
- if you are using coconut milk, use a hand mixer to blend the coconut cream until thick and extra creamy, about 1 min (raw cream needs no whipping)
- add your cream to the pumpkin mixture and stir until combined into creamy deliciousness
- continue stirring over heat until you see some bubbles
- in a medium bowl, whip your eggs until combined
- add pumpkin mixture to eggs and stir with a spatula until combined
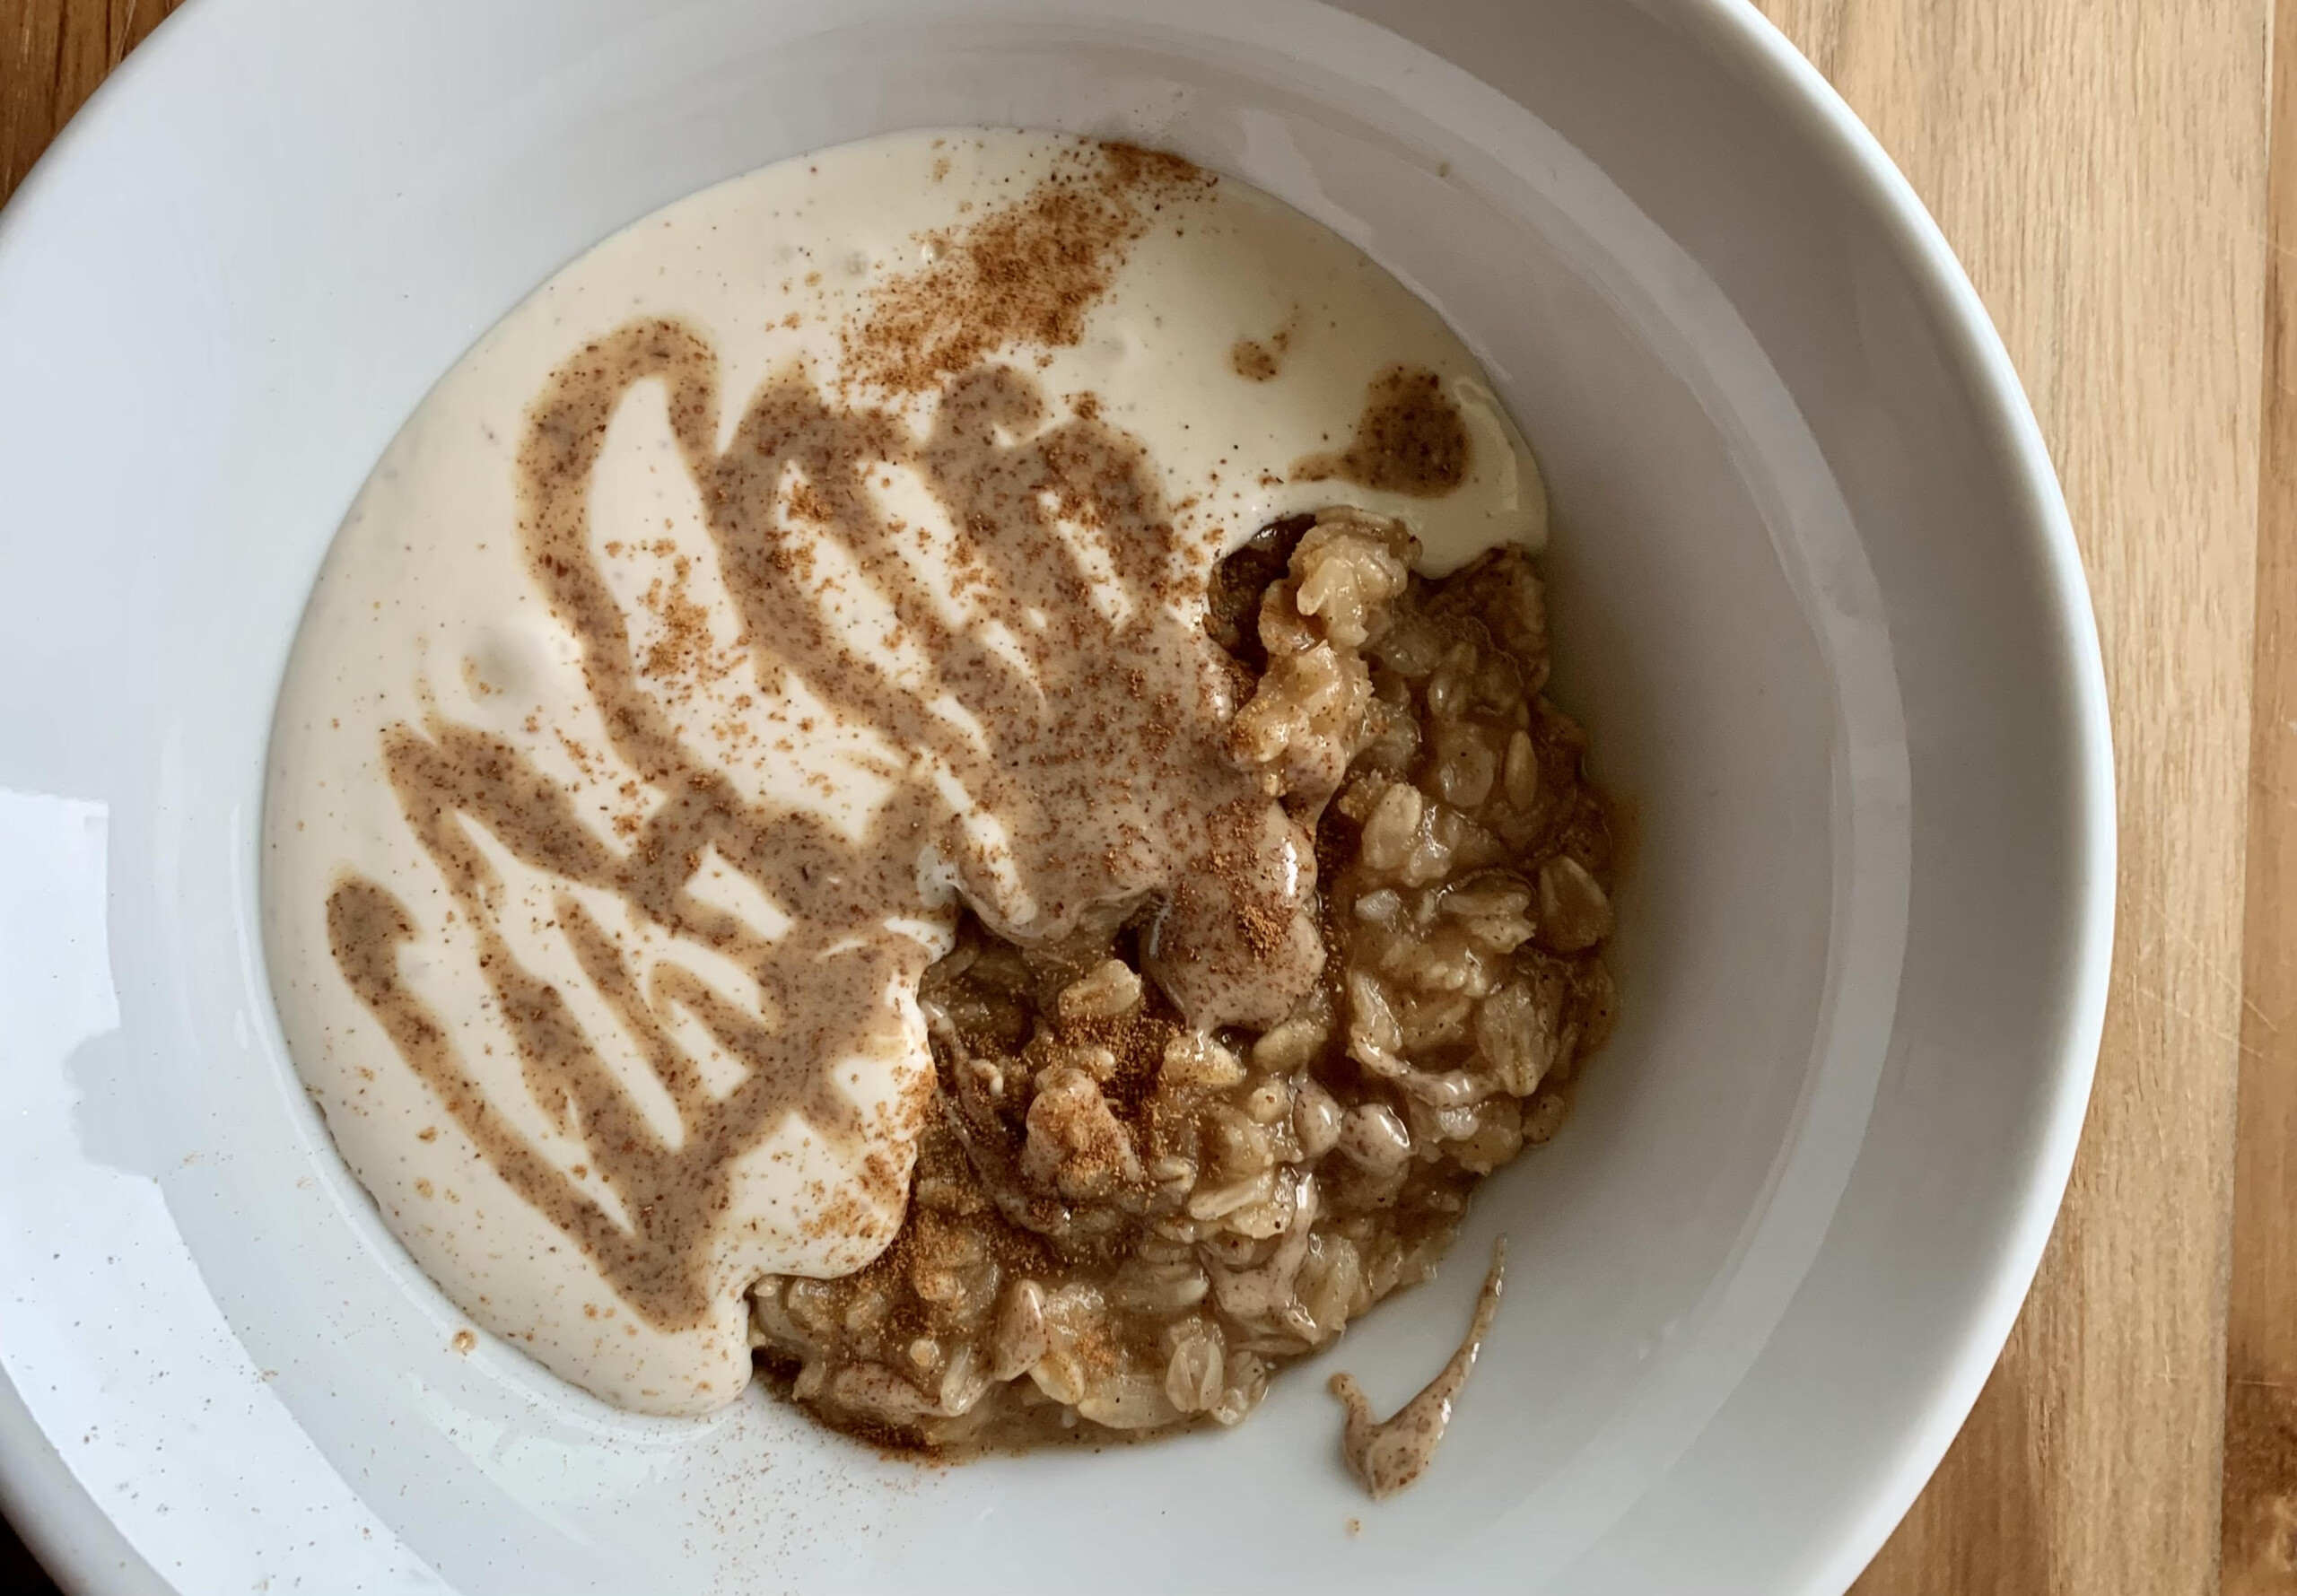
- pour pumpkin filling into your crust until full (you will probably have leftovers, which is great because now you can make some pumpkin pie pudding in a small glass ramekin)*
- bake your pie for 30 minutes or until only the very center jiggles when you gently shake the pie
- let the pie cool for at least an hour then pop it in the fridge (I think it tastes best after a night in the fridge)
- ENJOY!! We had ours with some of my homemade paleo vanilla ice cream
*cook any leftover filling in a glass ramekin with a 1/2 TB of tapioca for the same amount of time as the pie (keeping an eye on it). This is now one of Evie’s favorite holiday bites! I top it with full fat kefir that I get from our Farmers Market, and it’s sooooo good.
Would love to hear your thoughts if you try this one. What’s your favorite holiday tradition? I am THANKFUL for you!


[…] We will start with the results of months of labor (labor of love)… my finally perfected PUMPKIN PIE! […]
[…] have a similar texture. I happened to have some extra roasted pumpkin lying around from a recent pumpkin pie, and I knew exactly what I was going to […]
I just made this pie as my birthday treat, and it was my my first ever pie that I have made. Pumpkin pie is one of my absolute favorites, so thank you for providing an absolutely incredible pie recipe that even a pie newbie such as myself can make successfully! I’ll be keeping this recipe bookmarked ?
This just made my morning. Thank you for sharing, Sam! I’m so glad you enjoyed it ♡