If you’ve been here long, you know we LOVE sourdough. For well over 2 years now, I’ve been baking rustic sourdough boules from three simple ingredients: water, flour, and salt. I’ve been loving on our sourdough starter, Willow, and she’s most certainly loved us back.
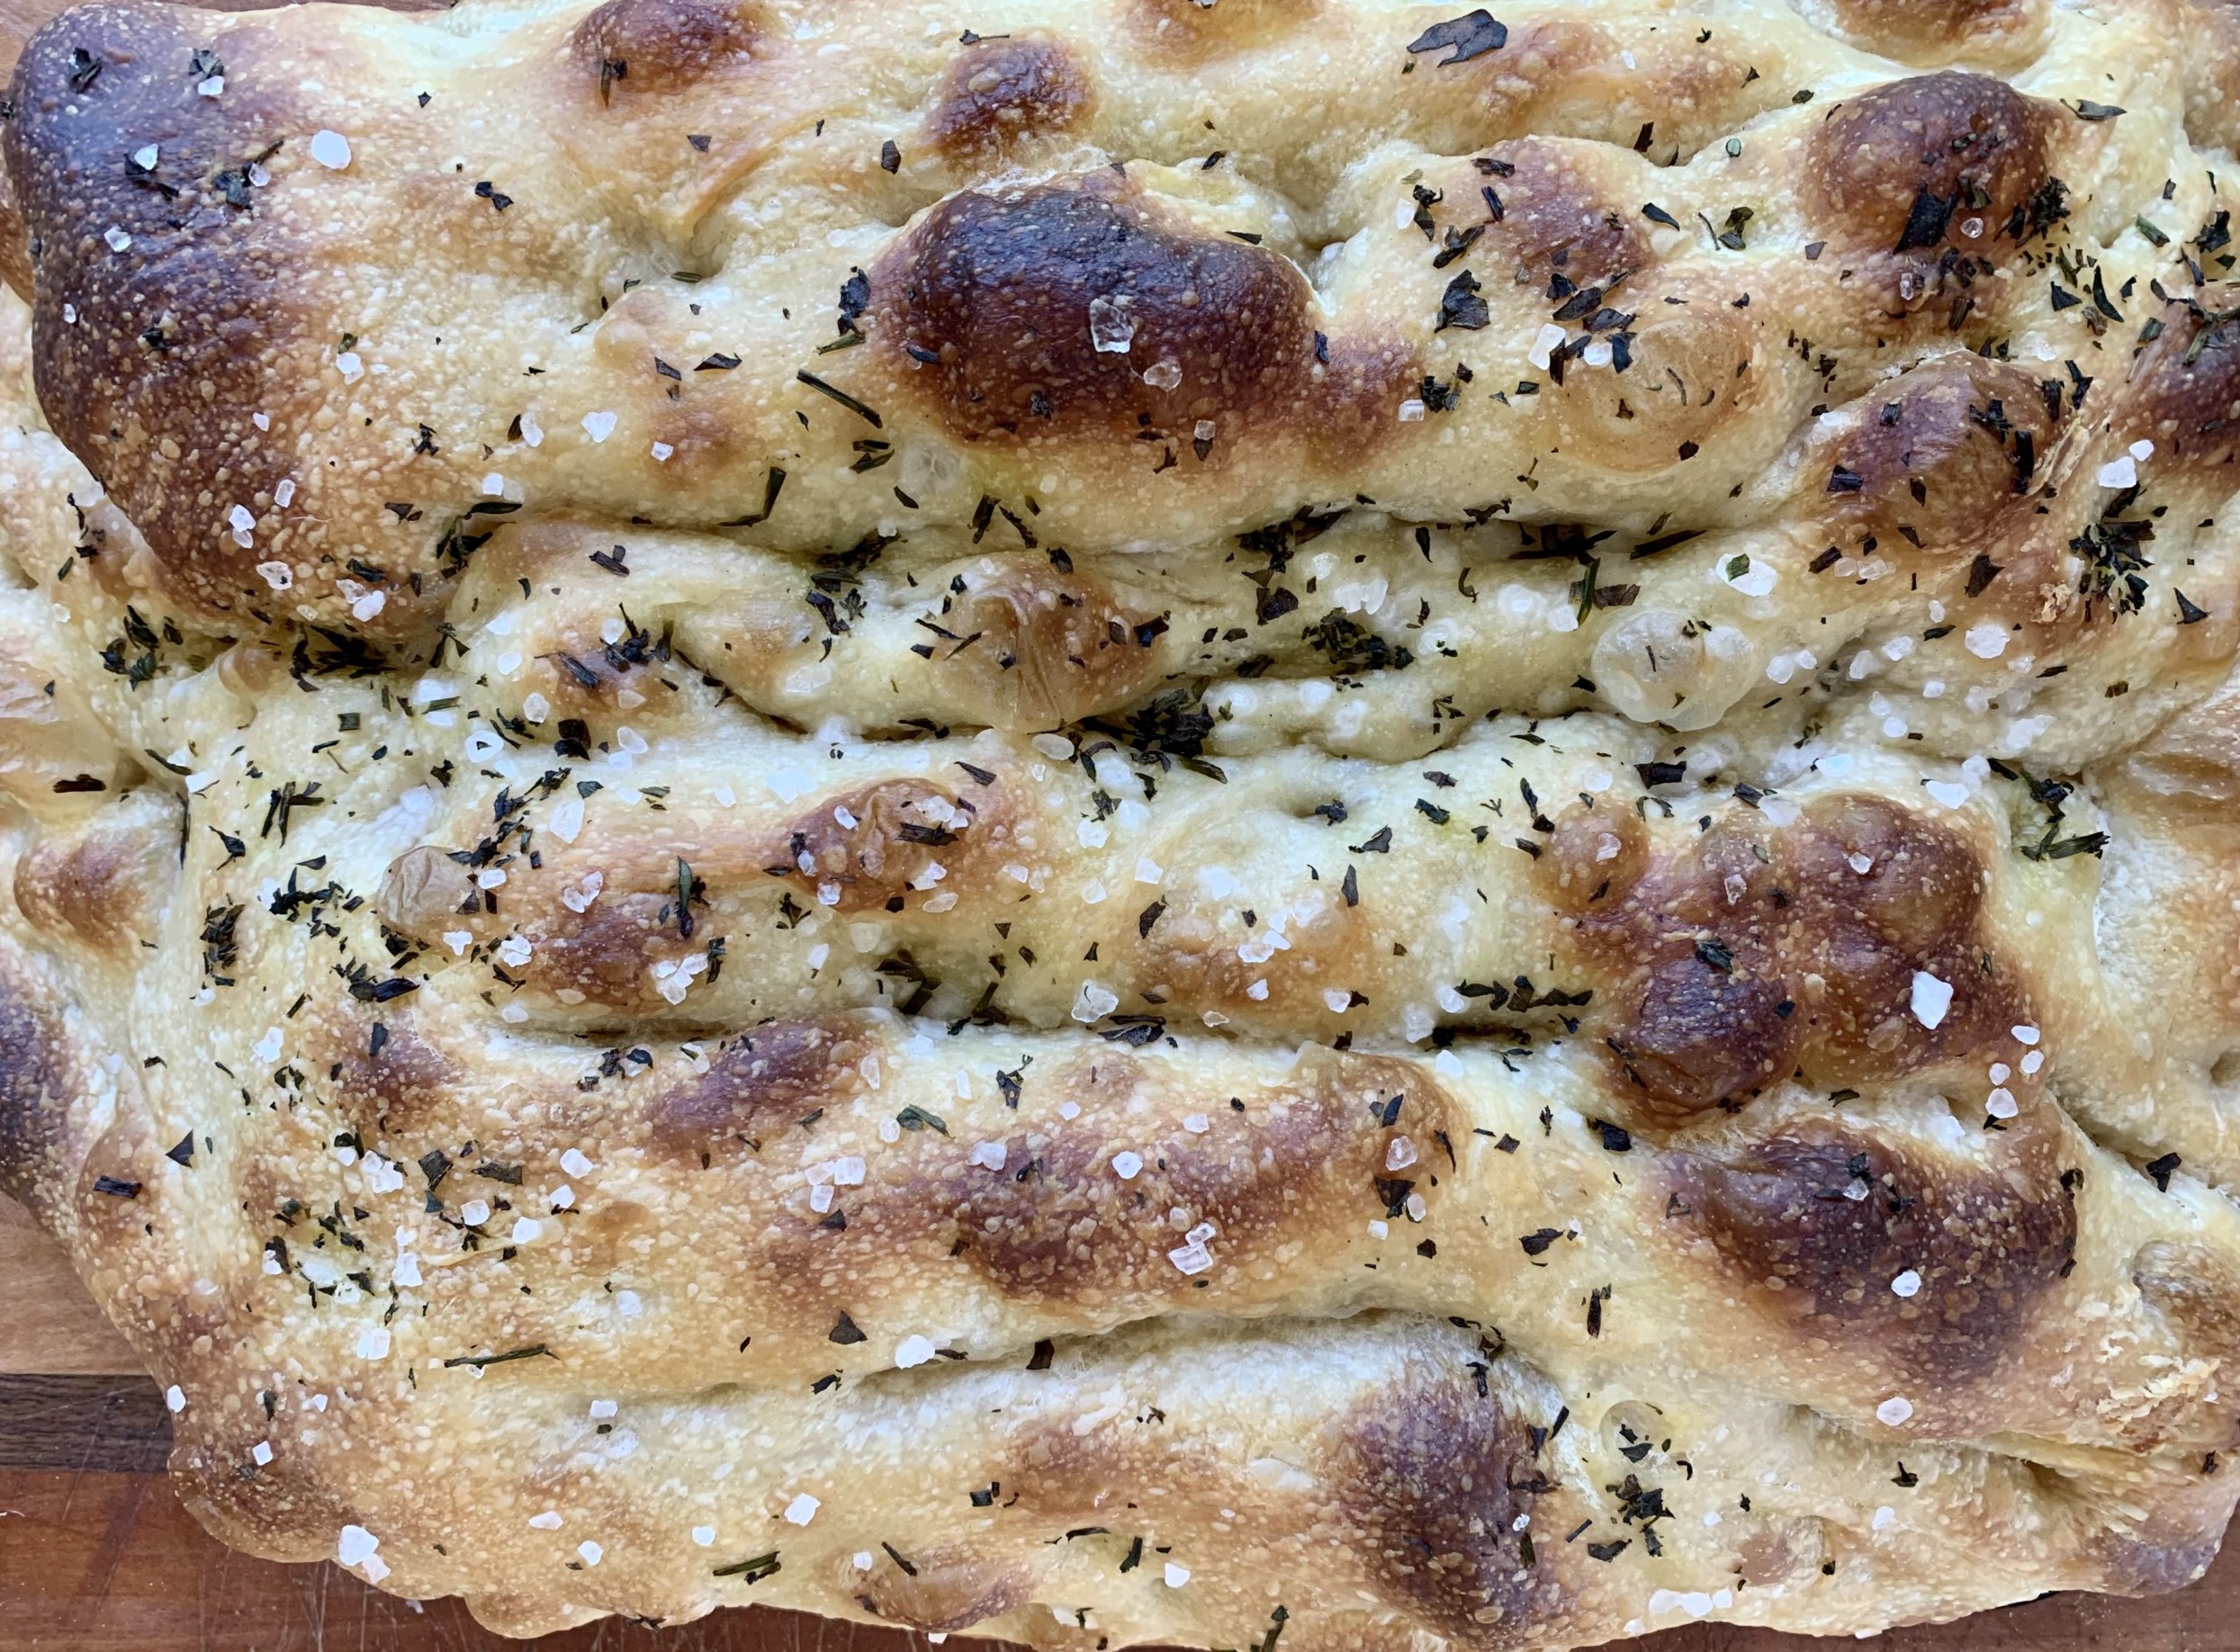
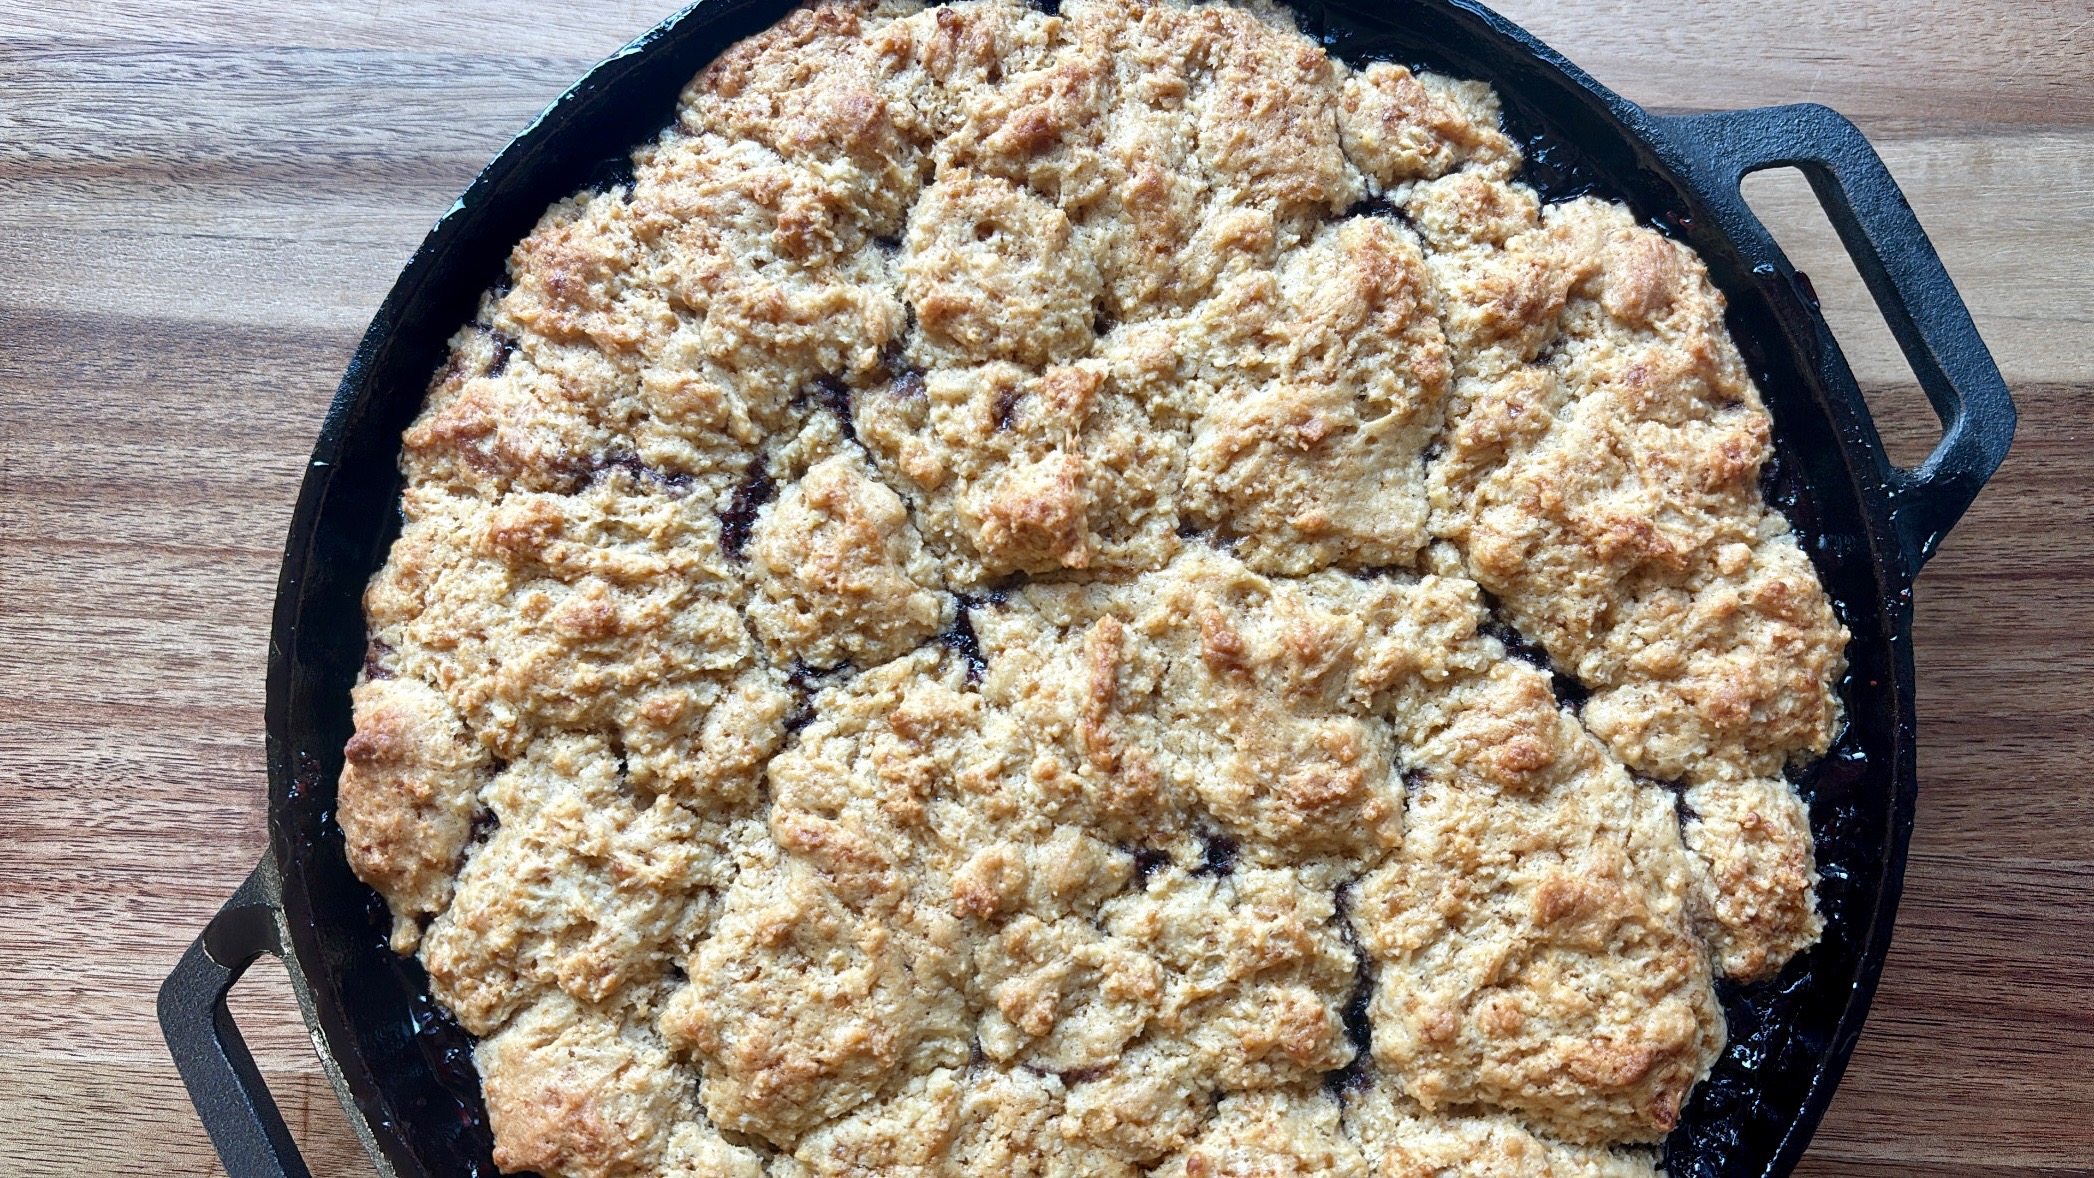
 We’ve expanded our sourdough love to focaccia, inspired by my incredible friend and skilled baker, Melissa. Sourdough focaccia is just as nourishing as your usual loaves, but it’s simpler to make, has far more room for error, and is especially simple to add extra flavor to – simply sprinkle over the top before baking!
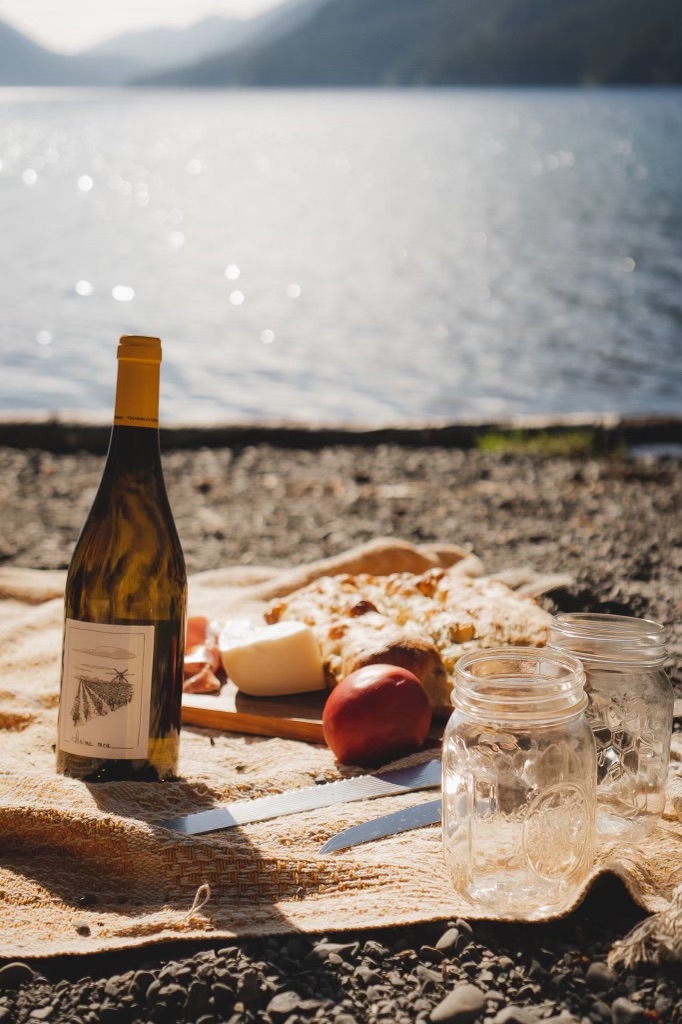
We love this for dipping in soups and stews, for a kick ass charcuterie board (especially by the lake), for sandwiches, the possibilities are endless really.
I hope you love this focaccia as much as we do and that you share with the ones you love.
Happy baking, friends!
sourdough focaccia
WHAT YOU NEED:
- 350g filtered room temp water
- 100g of active sourdough starter
- 500g flour (I like using organic unbleached organic bread flour)
- 15g sea salt
- 25g olive oil
- a baking dish*
our favorite topping ideas:
- always sea salt (flake is the best)
- chopped fresh herbs (we love sage, thyme, rosemary, oregano, and/or scallions)
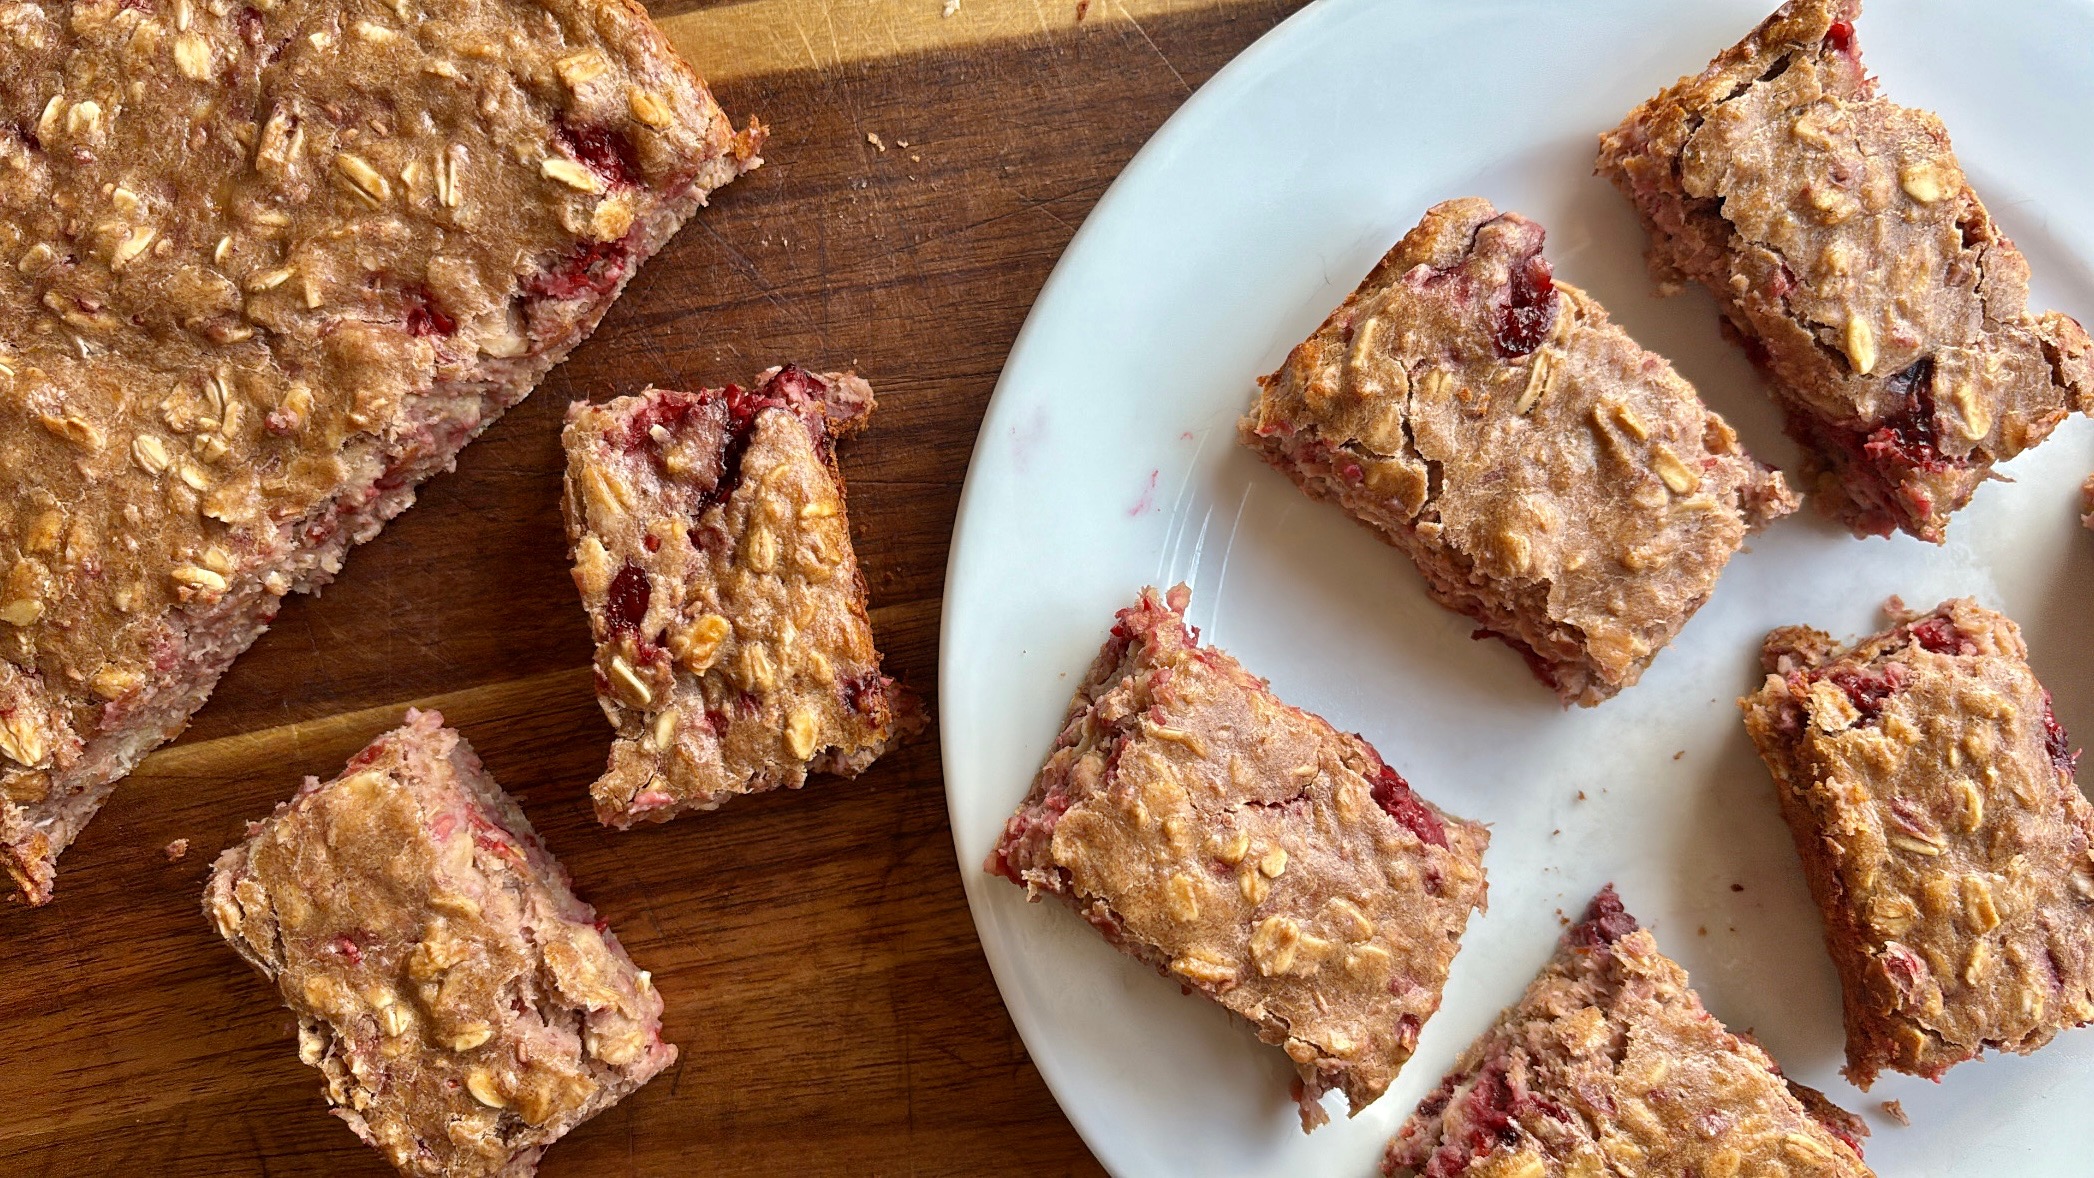
- cranberries
- parmesan
- get creative!
*I’ve used different sized dishes to bake my focaccia, and like I said before, this is a very forgiving bake. You’ll just have a different thickness, but give it a go in whatever you’ve got!
WHAT YOU DO:
Add water to a large glass or ceramic bowl, followed by starter, and then mix with your hand until you have a milky mixture.
Now, add the remaining ingredients, and mix by hand until well incorporated into a shaggy ball (It will be a wet dough).
Every 30 minutes, 3-4 total times, come back to your dough and stretch from each side, folding into the center, one side at a time. You’ll notice the wet dough starts to become more stretchy.
Cover and let sit for 8-12 hours on the countertop, depending on the temp of your house. It should well over double in size. You can also leave up to 24 hours in the fridge.
The next morning (or whenever you plan to prep to bake), preheat your oven to 420F. Then, drizzle olive oil in your baking dish and spread evenly.
Scrape your dough into the dish and drizzle more olive oil on top; very gently with the pads of your finger tips, spread the dough out to the corners of the dish until evenly spread.
Let this sit covered near the stove (make sure it’s not too hot) for another 30-60 minutes for a second proof while your oven preheats.
When you’re ready to bake, drizzle a little extra olive oil and then, use the pads of your finger tips to gently (but deeply) create dimples in the dough, watching the bubbles balloon, then sprinkle your toppings on top.
Bake for 25-30 minutes, until golden brown.
Let cool for 10 or so minutes in the dish and then remove the loaf and set to cool on a cooling rack. Wait at least 30 minutes before slicing. ENJOY!!
Enjoy friends! If you enjoy this loaf, I’d love to hear about it! Comment below or tag me on social media. Sending love and nourishment, now and always! Thanks for being in the Sourdough Sisterhood. All are welcome.
Hugs, Laura


thanks! this was tasty – I did have an issue with it sticking to the bottom of the pan badly. I thought it was swimming in oil so i don’t get how that is possible but I may try buttering the pan first. I used a glass pan.
This is truly an incredible loaf. We make it every single week for sandwiches and snacking. Thank you for sharing this great recipe.
This just made my morning. Thank you for taking the time to pause and share. Happy baking, friend!
This recipe was a HUGE hit with my entire family! Nearly ate the whole loaf in one day 😂 the instructions were easy to follow and the end product was SO delicious! Thanks for the recipe!
You’re the best. Thank you for that feedback. This makes my heart SO happy.
Hi there! What type of pan do you use? Mine stuck like crazy unfortunately. And also, are you using an active starter?
Hey there! Yes, I always use active starter. Here is the dish I use. I find waiting for it too cool completely helps to make removing easier! Also, LOTS of olive oil on the dish.
In the oven now and smells heavenly! Willows child is alive and well over here 😉💛
This makes my heart so happy. What a way to start the week! Enjoy!
Still using this recipes years later and it’s the one I share the link to for friends!
That means so much! Thank you, friend. Hope you and the family are doing well!