*A note about the Sourdough Sisterhood: This passion started from a very special sisterhood. It began with a group of women, friends who have become family. These friends supported and inspired me to bring this passion to life, cheered me on, and helped me find the magic of the sourdough process. That said, sourdough is for EVERYONE. I am so glad you’re here.
Ok, let’s chat SOURDOUGH. Who knew something so simple could bring so much joy, presence, grounding, and nourishment? My journey started with a meal made during my first postpartum experience in 2017, kept up through sourdough shared with love during our 1.5-year van living and adventure across the country, and has continued over the past 7 years with the creation of my simple guide, recipe books, tutorials, workshops and more.
My goal will always be to make sourdough approachable, adaptable, and nourishing for body and soul
And through it all, sourdough has continued to bring joy, nourishment, food freedom, a creative outlet, and an opportunity for grounding, processing, and connection.
My goal will always be to share my journey in hopes that you can take what’s worked for me and make it your own, evolving this simple recipe – and all things sourdough – to fit into your life and your tastes.
 Did you know sourdough is the oldest form of leavened bread and was used as far back as ancient Egypt? No wonder I feel so connected and grounded when I bake. I love that every recipe you’ll find will be a little bit different. Just like stories shift and change when passed down from generation to generation, so to do our sourdough techniques. I think of this much less as a recipe and much more as a guide to help you tell your own story through sourdough. One thing is for certain, though: all sourdough begins with a starter, a mixture of flour, water, and what feels like a pinch of magic. Sitting at room temperature, wild yeasts in the air and on the flour settle into the starter mixture. The fermentation that occurs after a few days gives the starter its sour smell and magic powers. Our starter is named Willow, and I plan on sharing her with loved ones and passing her down to Evie and hopefully many generations to come.I’ve gotten a lot of questions about why I can enjoy sourdough when I usually don’t feel great eating gluten. Well, it comes down, once again, to the magic of the starter and fermentation she brings. The fermentation process that gives the bread its delicious sour taste also makes it much more gut-friendly than your standard bread, especially when you stick to organic and sprouted grains, and even more ideally, ancient einkorn. The sourdough’s bacteria breaks down the flour in a way that mimics our microbiome. In fact, the microbes that are in your sourdough starter are the same microbes that are in the soil and in our guts. How wild is that? We’re more connected to the earth than we often realize. What happens is that the wild yeast and bacteria in a sourdough starter break down some of the carbohydrates and proteins found in flour that can be tough on our guts, making for a much more easily digestible and nutritionally beneficial real food. The fermentation also increases the body’s ability to absorb vitamins and minerals from the sourdough. As your dough ferments, it produces enzymes that break down phytic acid, which can inhibit the body’s ability to absorb nutrients.
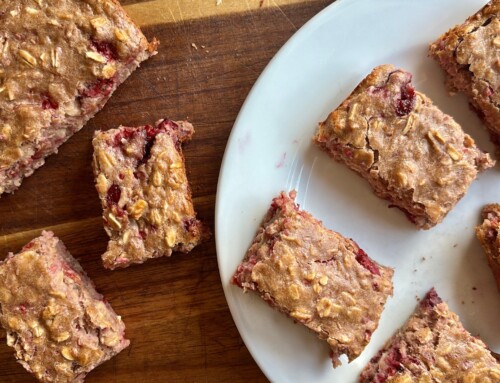
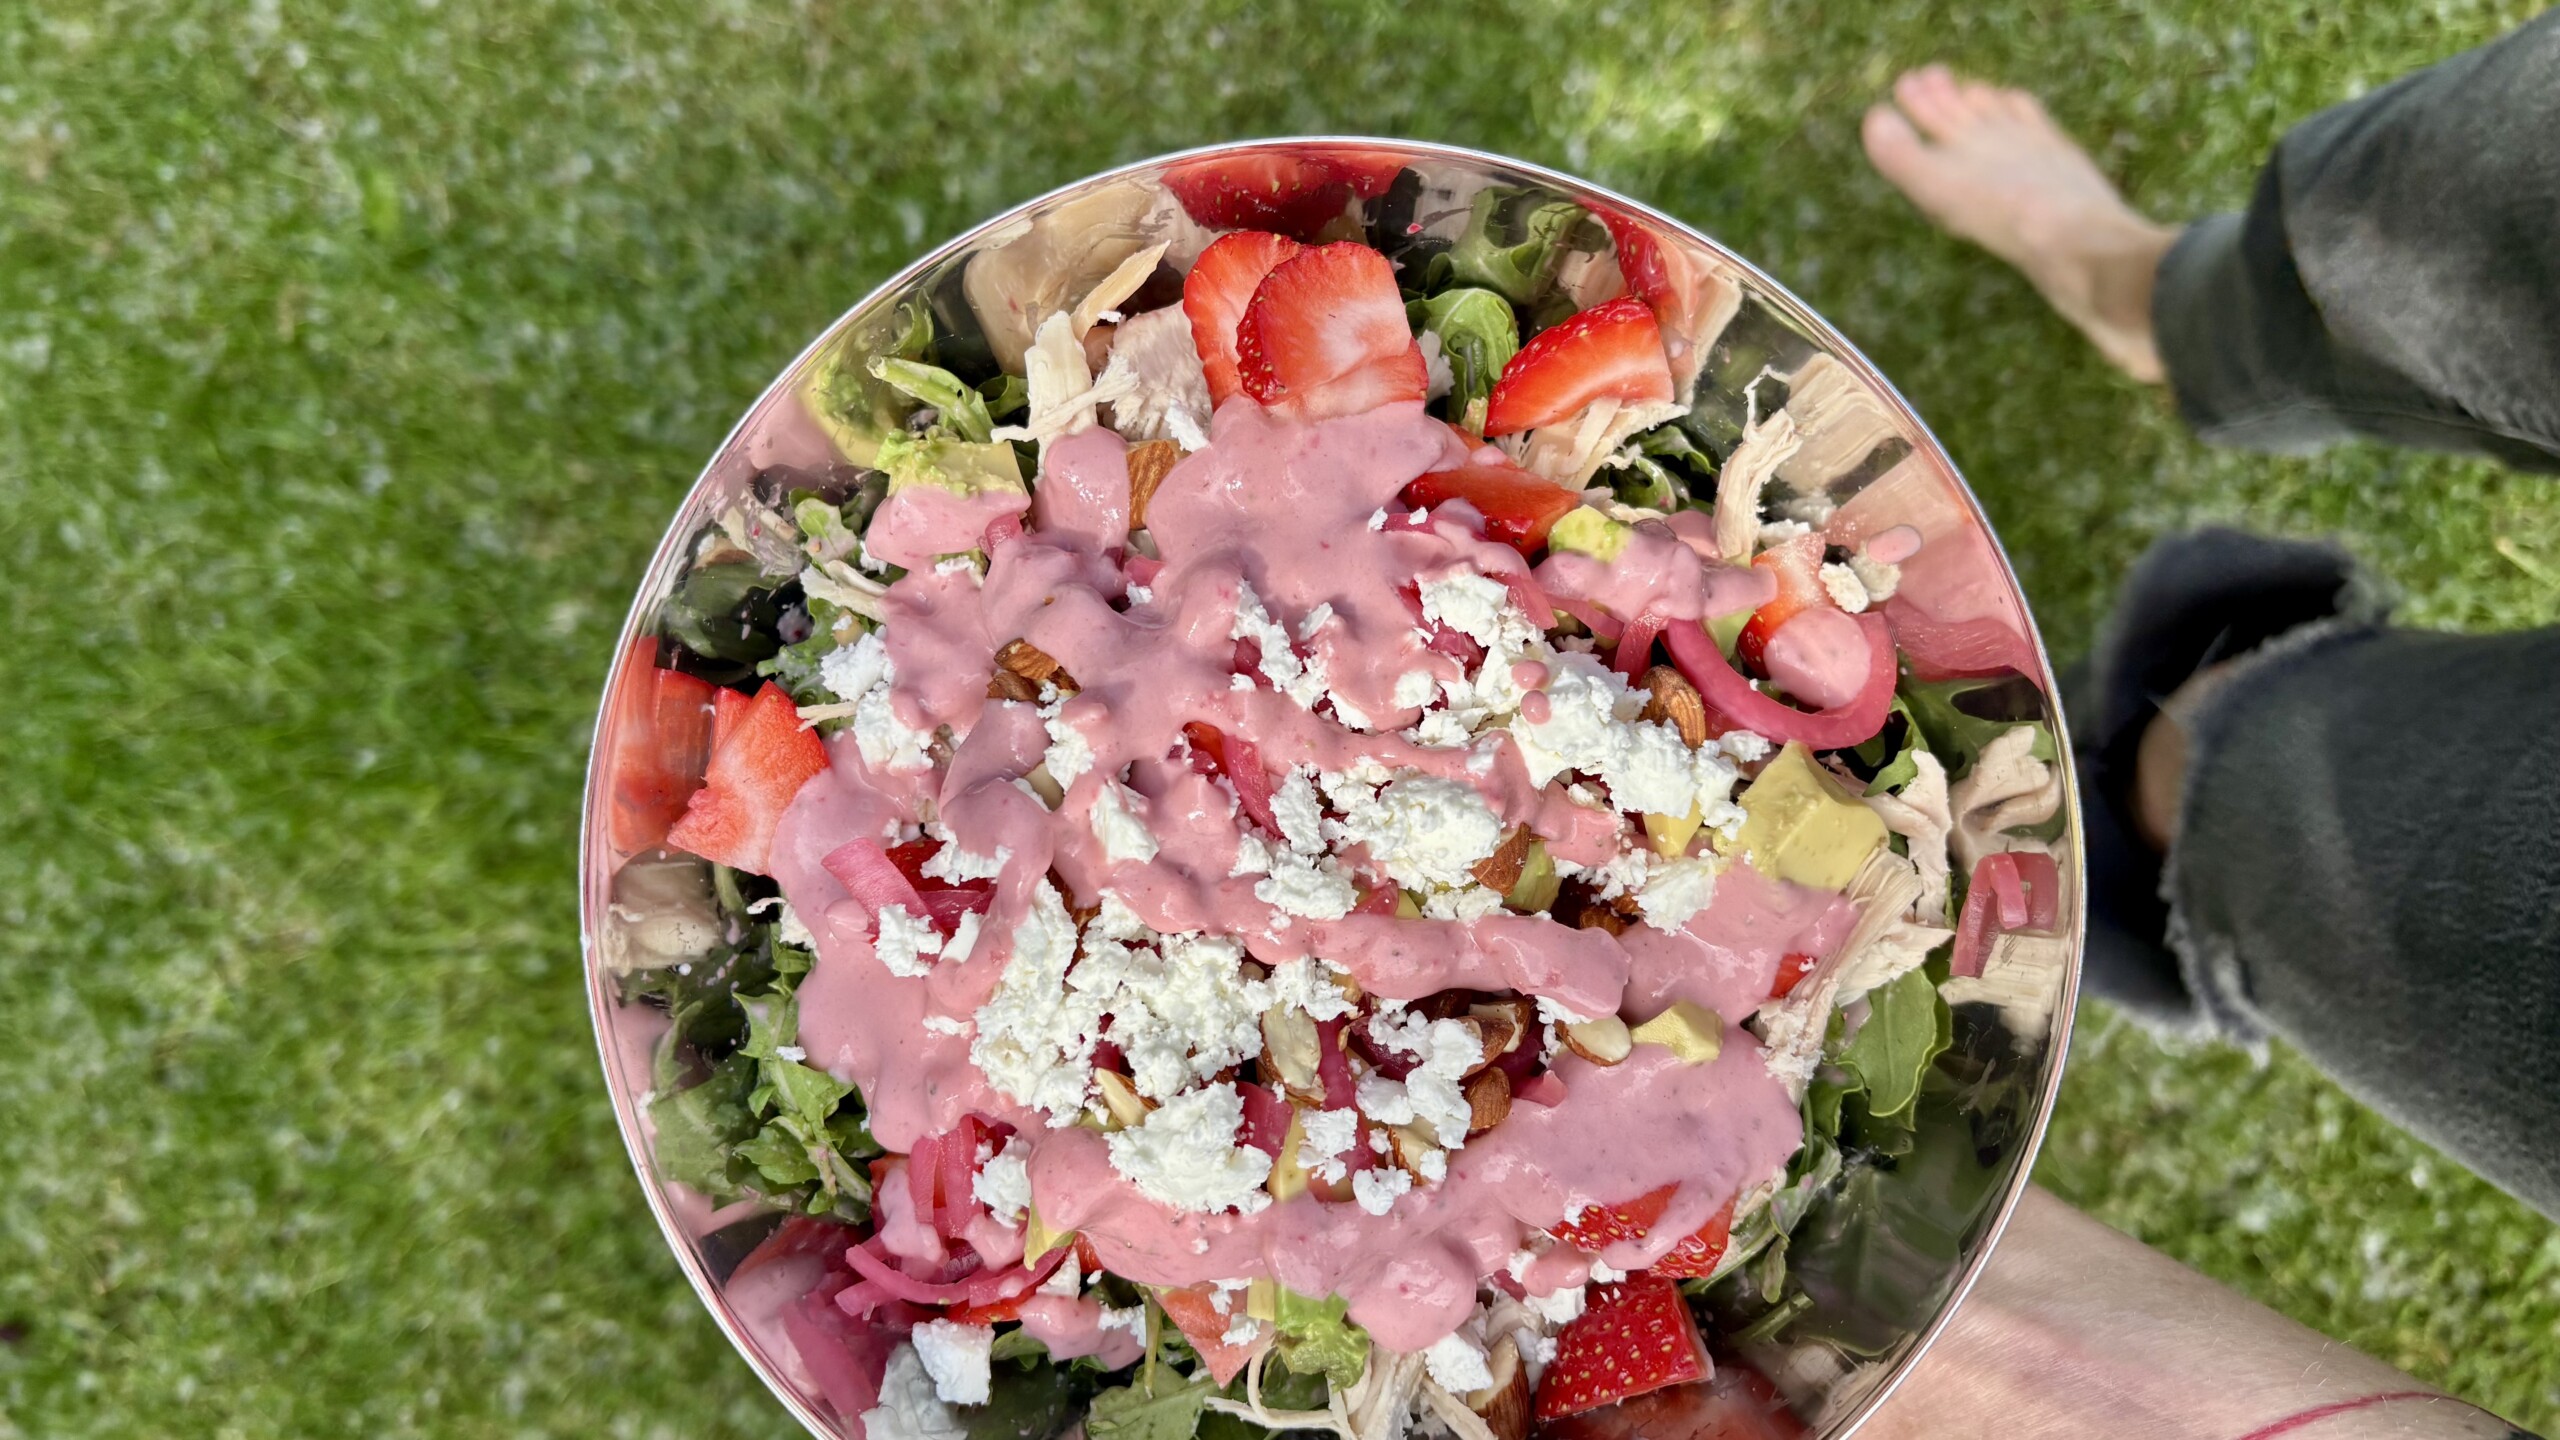
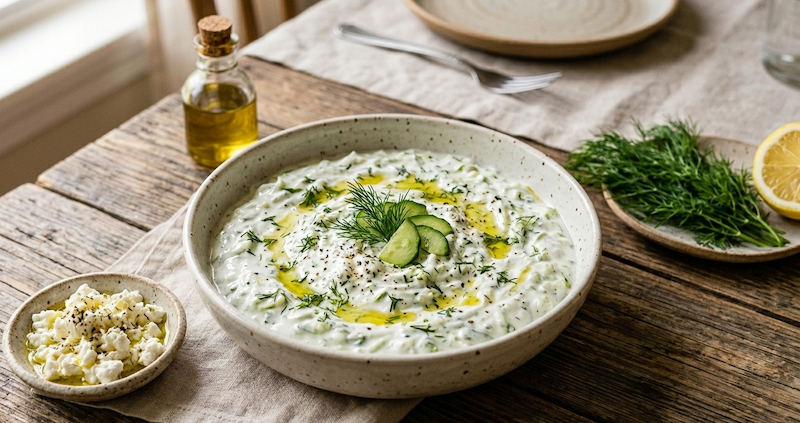
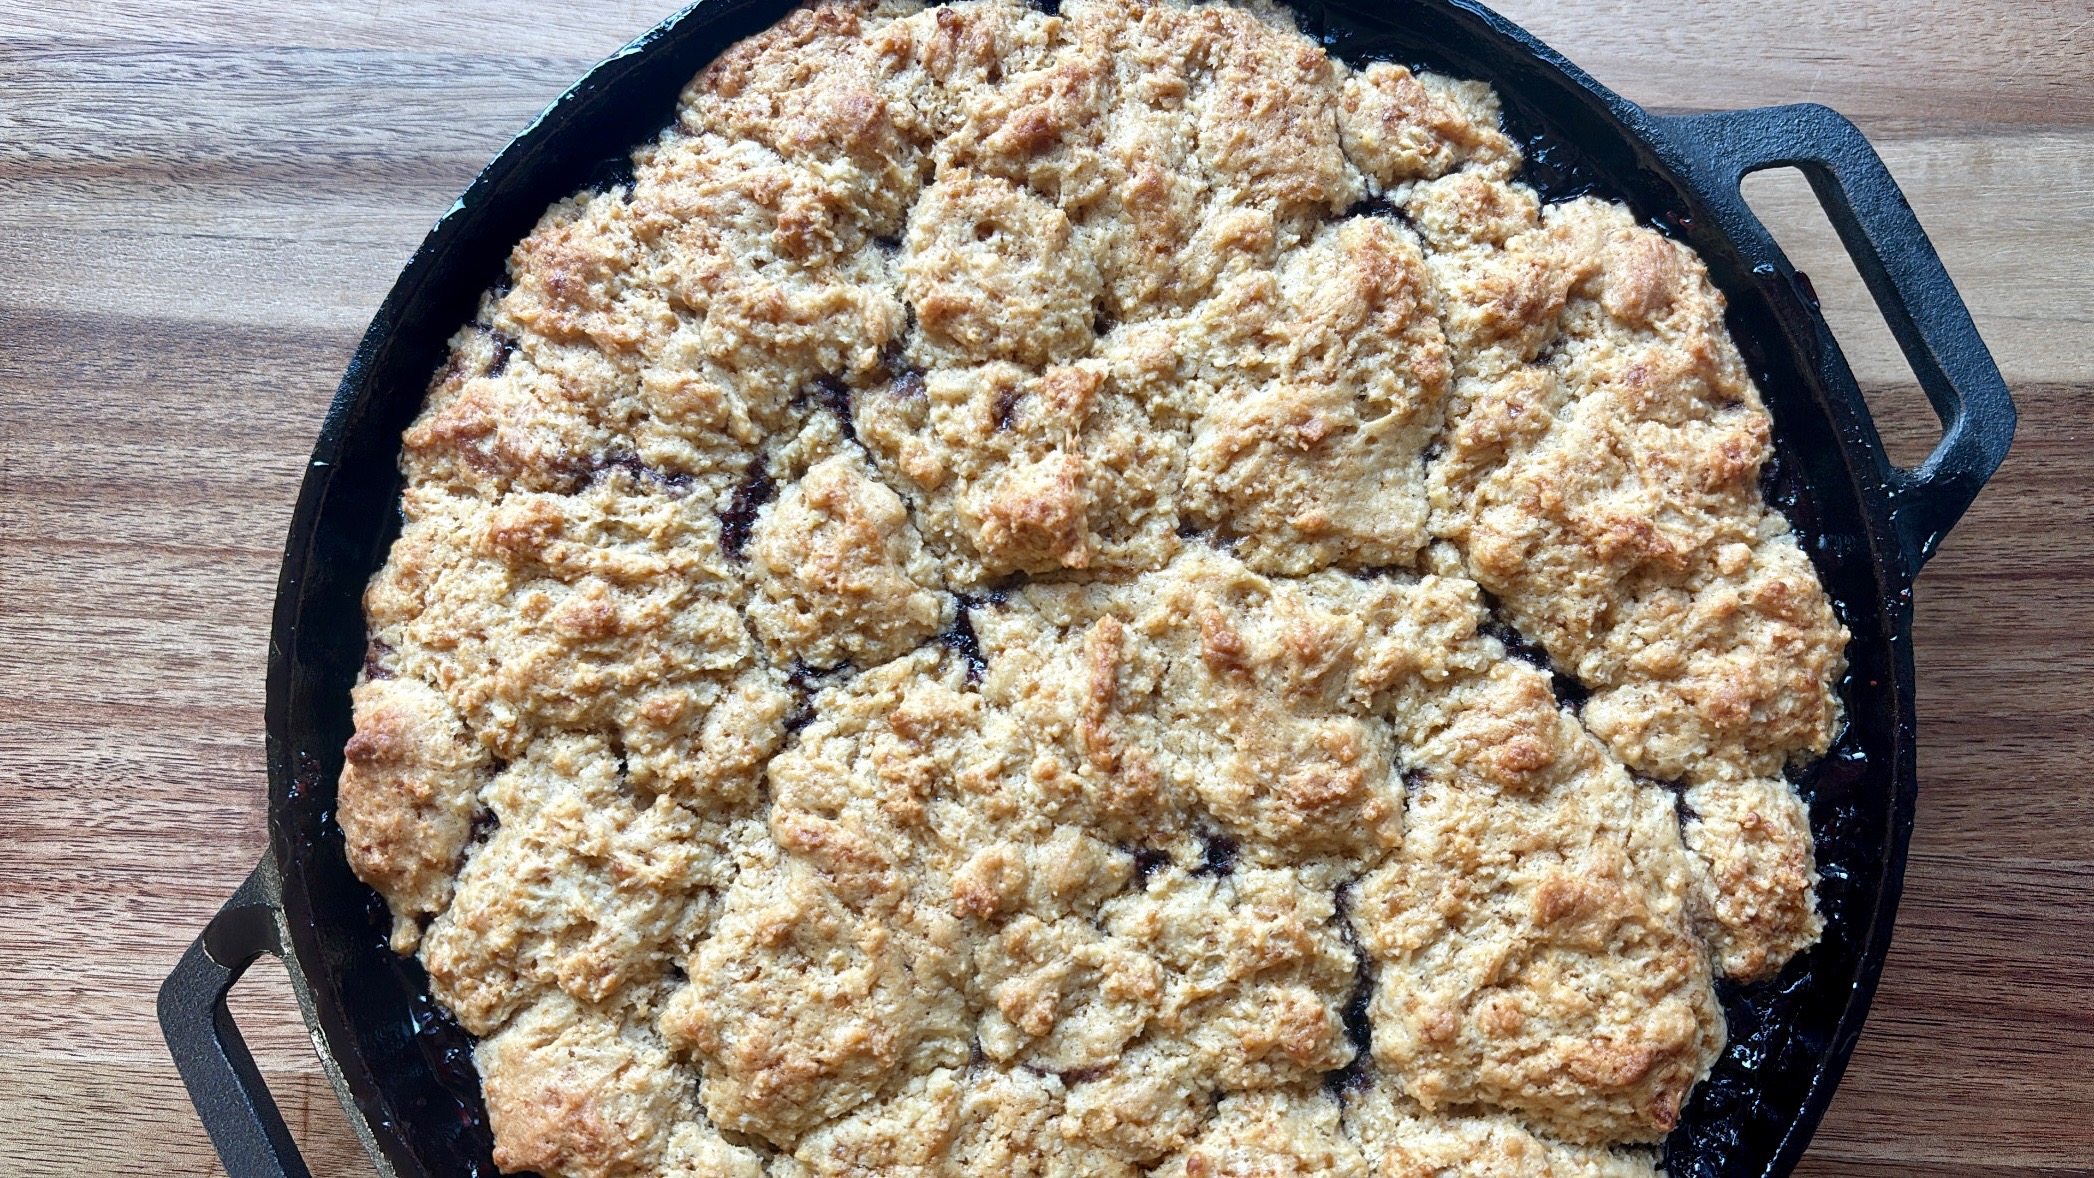
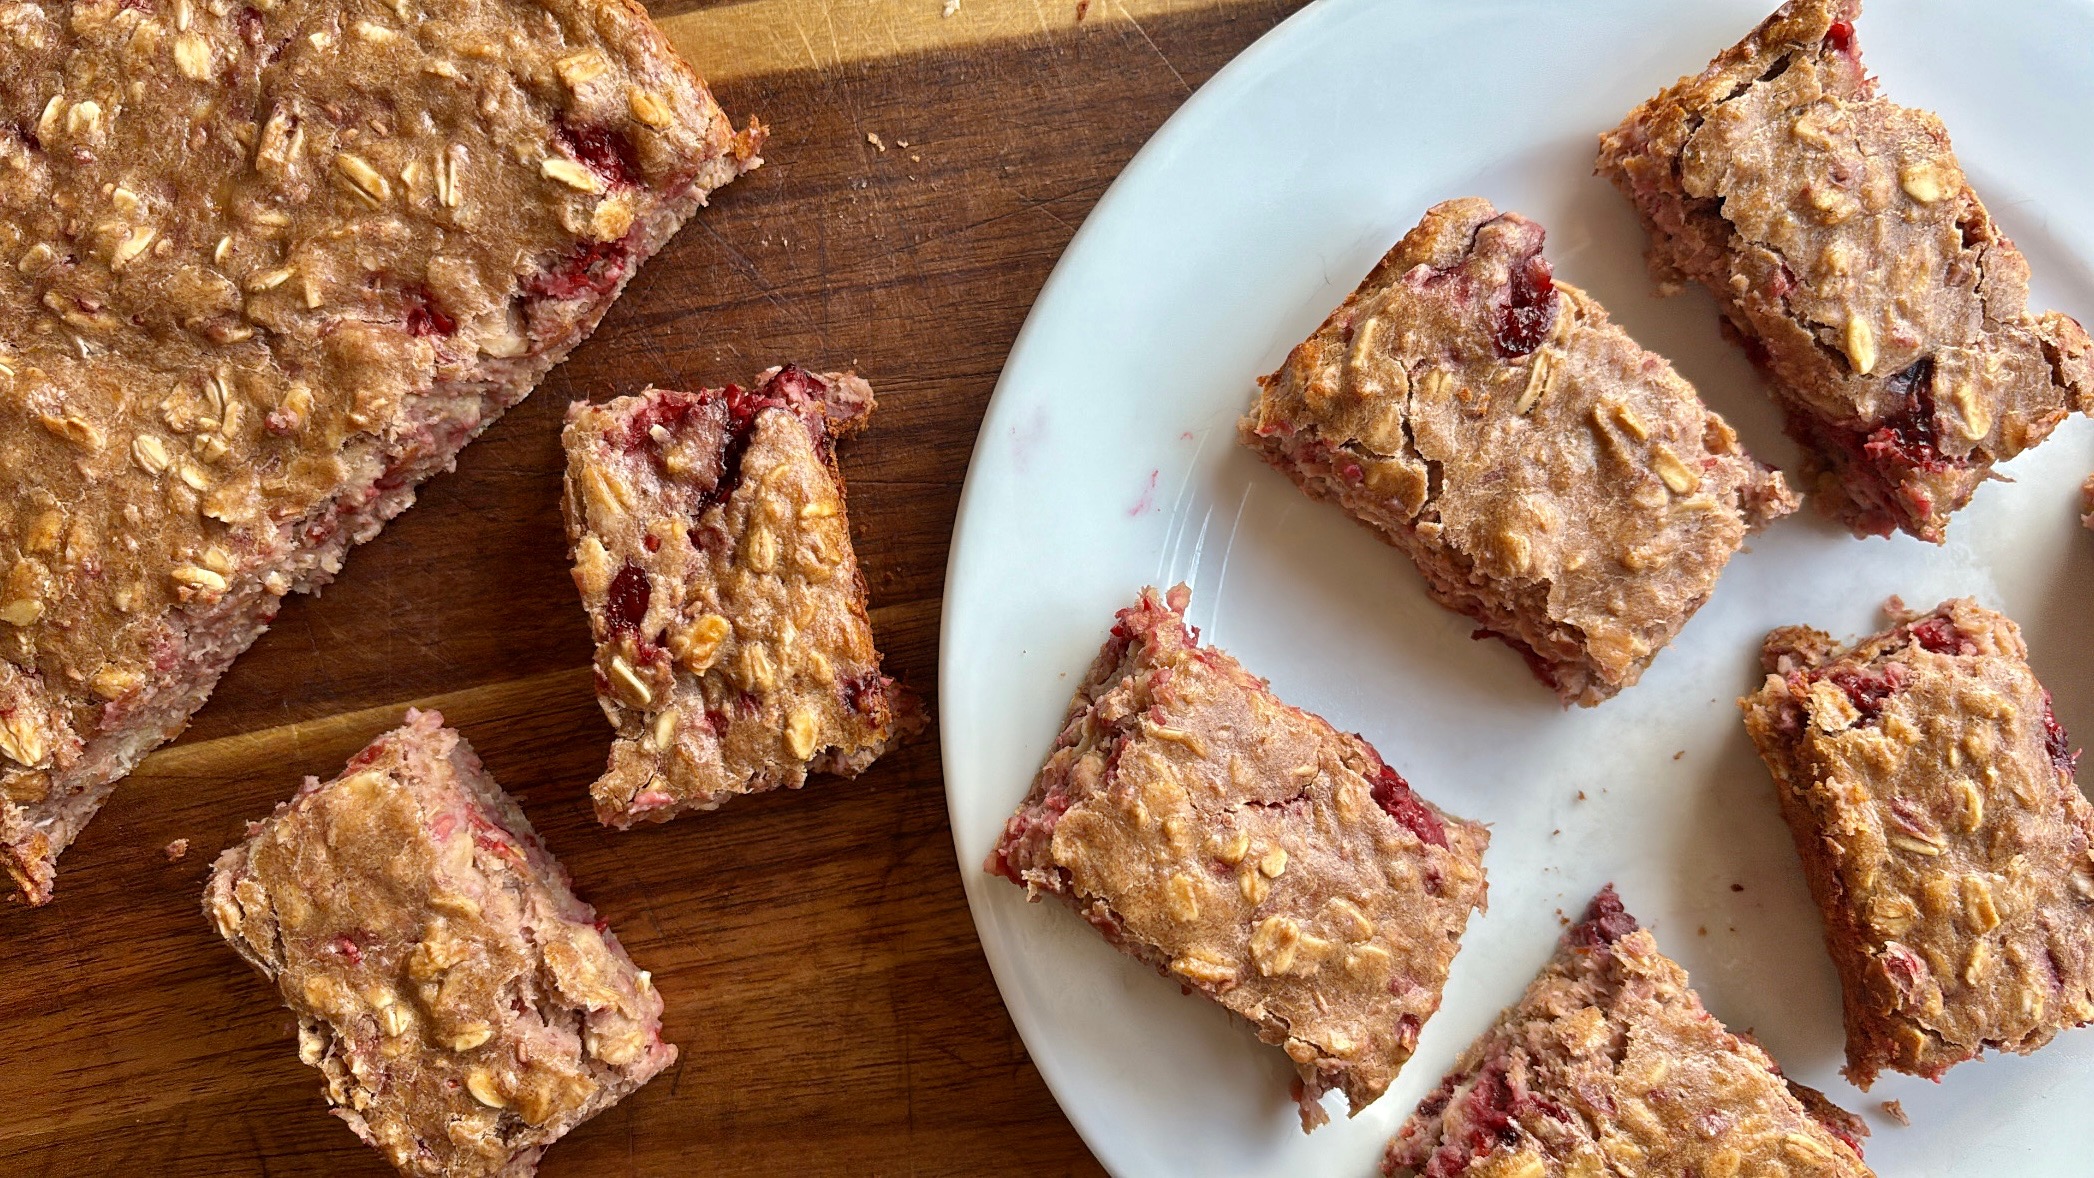
So, not only does sourdough taste outstanding, it’s also nutrient dense and a great vessel for other nourishing foods like grass fed butter, avocado, smoked salmon, chili, soup, and more. The options are endless.

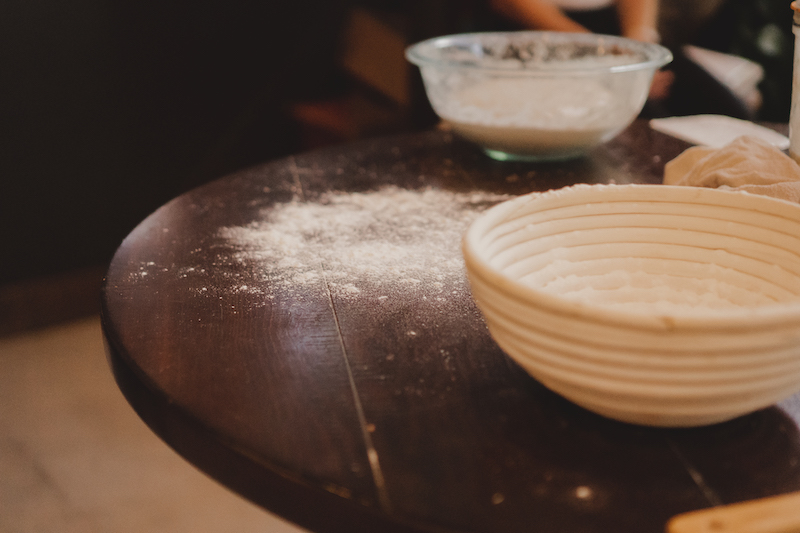
First, let’s talk about your STARTER.
Here is a video where I break down how to rehydrate and care for your starter.
Ours is named Willow, she is loved by my whole family. Willow started from dehydrated starter gifted to me by my dear friend Ashley. I slowly rehydrated it over the course of three days and have been feeding Willow daily ever since, aside from a few travel stints where she waited patiently for me to return in the fridge. Usually, I like storing her in an airtight glass container, on my counter.
Step 1: adopt or borrow some organic, well loved starter from someone you trust. You can find my Willow in my Etsy shop. Or get one from a friend, like my dear friend Ashley, a relative (older the better), a local sourdough bakery, or a wonderful small family farm like my friends at The Farm and the Kitchen. I am not here to tell you how to start one from scratch because I think one of the most beautiful thing about sourdough is how cool it is to start a whole new starter and sourdough practice after inheriting sourdough that’s been loved on by someone else.
Step 2: Rehydrating and feeding are pretty much the same. Add 1/3 cup organic unbleached flour of your choice (I’ve maintained mine with only organic unbleached white flour and have found great success) and 1/3 cup room temp or slightly lukewarm water. Stir and repeat morning and evening every day until you have a robust starter of your own. Once your starter is nice and bubbly, take it down to once a day (I like morning). At this point, you’ll need to discard a bit. Take about 1/4 cup of starter out before you add your flour and water. I love using this for Evie’s sourdough pancakes, our absolute favorite pizza (baked in our Ooni pizza oven), and all of the other recipes in my Sourdough Sisterhood recipe book!
Note: I have found the best success and most active happy floating starter from feeding about 3-4 hours before beginning a loaf, but this process is forgiving, and sometimes, I will start a loaf with a starter fed even 12 hours before!
And now, friends, it’s time to bake.
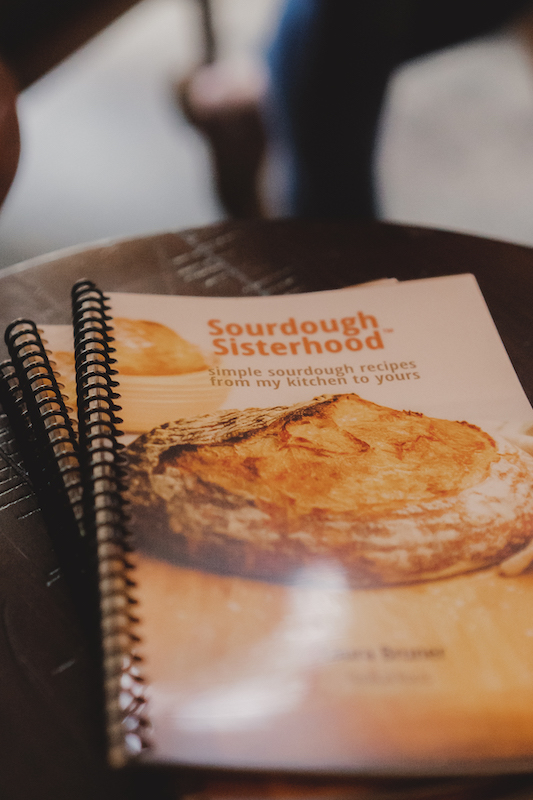
*note: if you prefer to flip pages and see recipes in cookbook form, checkout my recipe book!
Here are the steps to baking your own simple loaf. I’ve included the times I like to start and bake for reference. Another beautiful thing about sourdough is that you can make the process work into your own unique life. I plan to continue to expand and add to this post as my knowledge and experience grows too. That’s the beauty of sourdough baking, we get to ebb, flow, and grow along with our starters and our loaves.
Want to try a sandwich loaf? I’ve created an einkorn sandwich loaf that the whole family loves.
simple sourdough
EQUIPMENT
- a kitchen scale
- a dough scraper
- a standing mixer (optional)
- large glass or ceramic bowl + lid, cling wrap, or large Bee’s Wrap
- a scoring blade or very sharp knife
- a banneton bread basket (not necessary, but very helpful)
- parchment paper (again, not necessary but helpful)
- a 3.5qt dutch oven (a roasting dish with lid can also work here, but the crust won’t quite as awesome, in my opinion)
Note: you can also get all the sourdough tools you need in one place in my Sourdough Sisterhood Box!
INGREDIENTS:
- 425 grams of room temp water
- 200 grams sourdough starter
- 650 grams of organic your flour choice (I love this white flour or Einkorn for flavor, crumb, and nutrition)
- 15-20 grams of sea salt, depending on taste (I prefer a little extra salt)
- sprinkling of extra flour for shaping (I use gluten free here because it’s not fermented)
*note: if you’re finding your dough hard to work with, try adding 20+ grams of flour to your leaven, until it’s easier to work with. I’ve been having fun with higher flour ratio loaves lately, and you might too!
WHAT YOU DO:
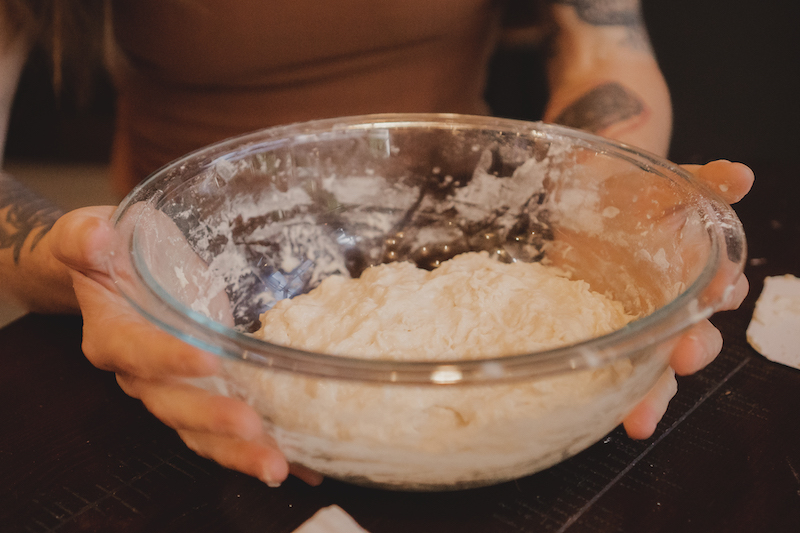
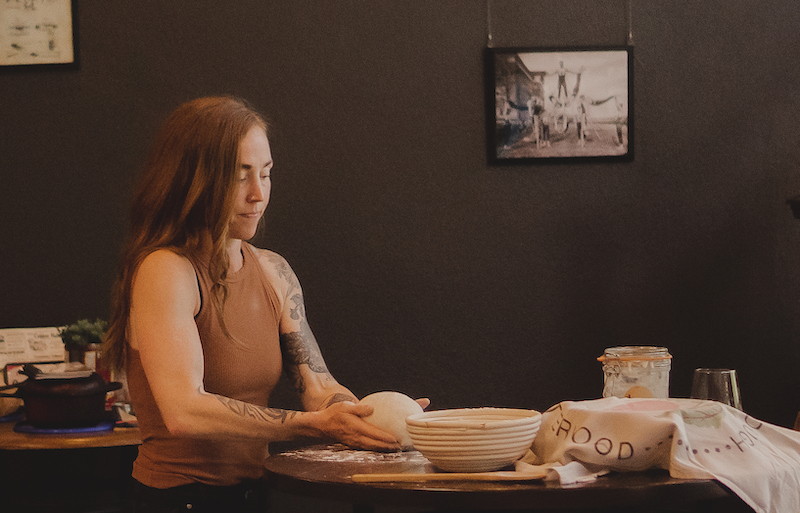
About 5pm: Add water and starter to the bowl, and stir with your hand until just combined. Then, add flour and mix with hands or scraper until you have a shaggy ball, let sit to leaven for 30 minutes uncovered.
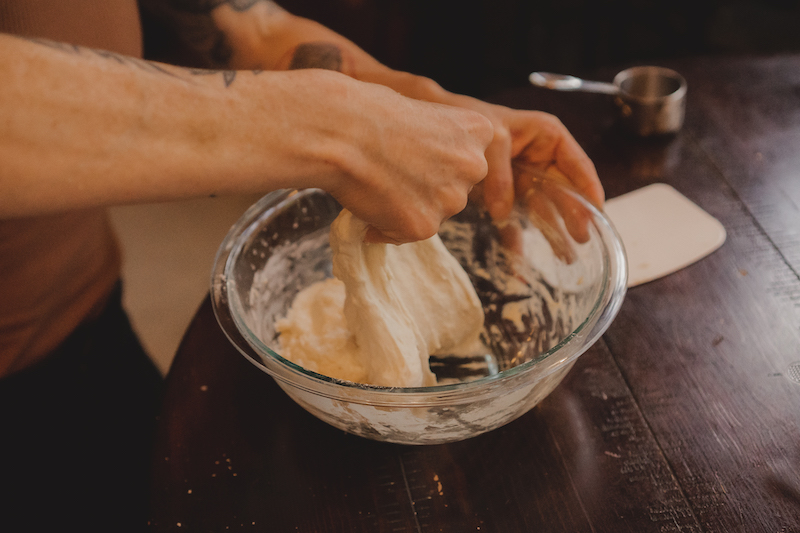
About 5:30pm: After 30 minutes, sprinkle sea salt over dough, and pinch it in with your fingers until combined, and then begin your first “stretch and fold”. Pull each side of the dough, one side at a time, and fold all the away across. Cover with a tea towel between stretch and folds, and repeat this process every 30-60 minutes, 3-4 times total. I’ve found this to be incredibly cathartic and grounding in the midsts of even my busiest days.
*Note: an even easier button option here is to move your dough to a standing mixer bowl and set on the lowest setting for 20 minutes. From there, you’ll skip ahead to simply transferring the dough to large glass or ceramic bowl, covering so that it’s air tight, and setting aside to proof.
About 7-7:30pm: Finish your final stretch and fold, and flip so that the seams are underneath; then, cover so that it’s air tight, and set in a consistent temp spot to proof for ~12 hours (there is wiggle room here- I’ve done as few as 6 hours and as many at 15). This will all depend on the temp in your home. If it’s warm, make sure to check and/or put in the fridge after about 6-8 hours. In cooler temps, I’ve gotten away with a 15-hour countertop ferment. You can extend the ferment to up to 24 hours if you put it in the fridge.
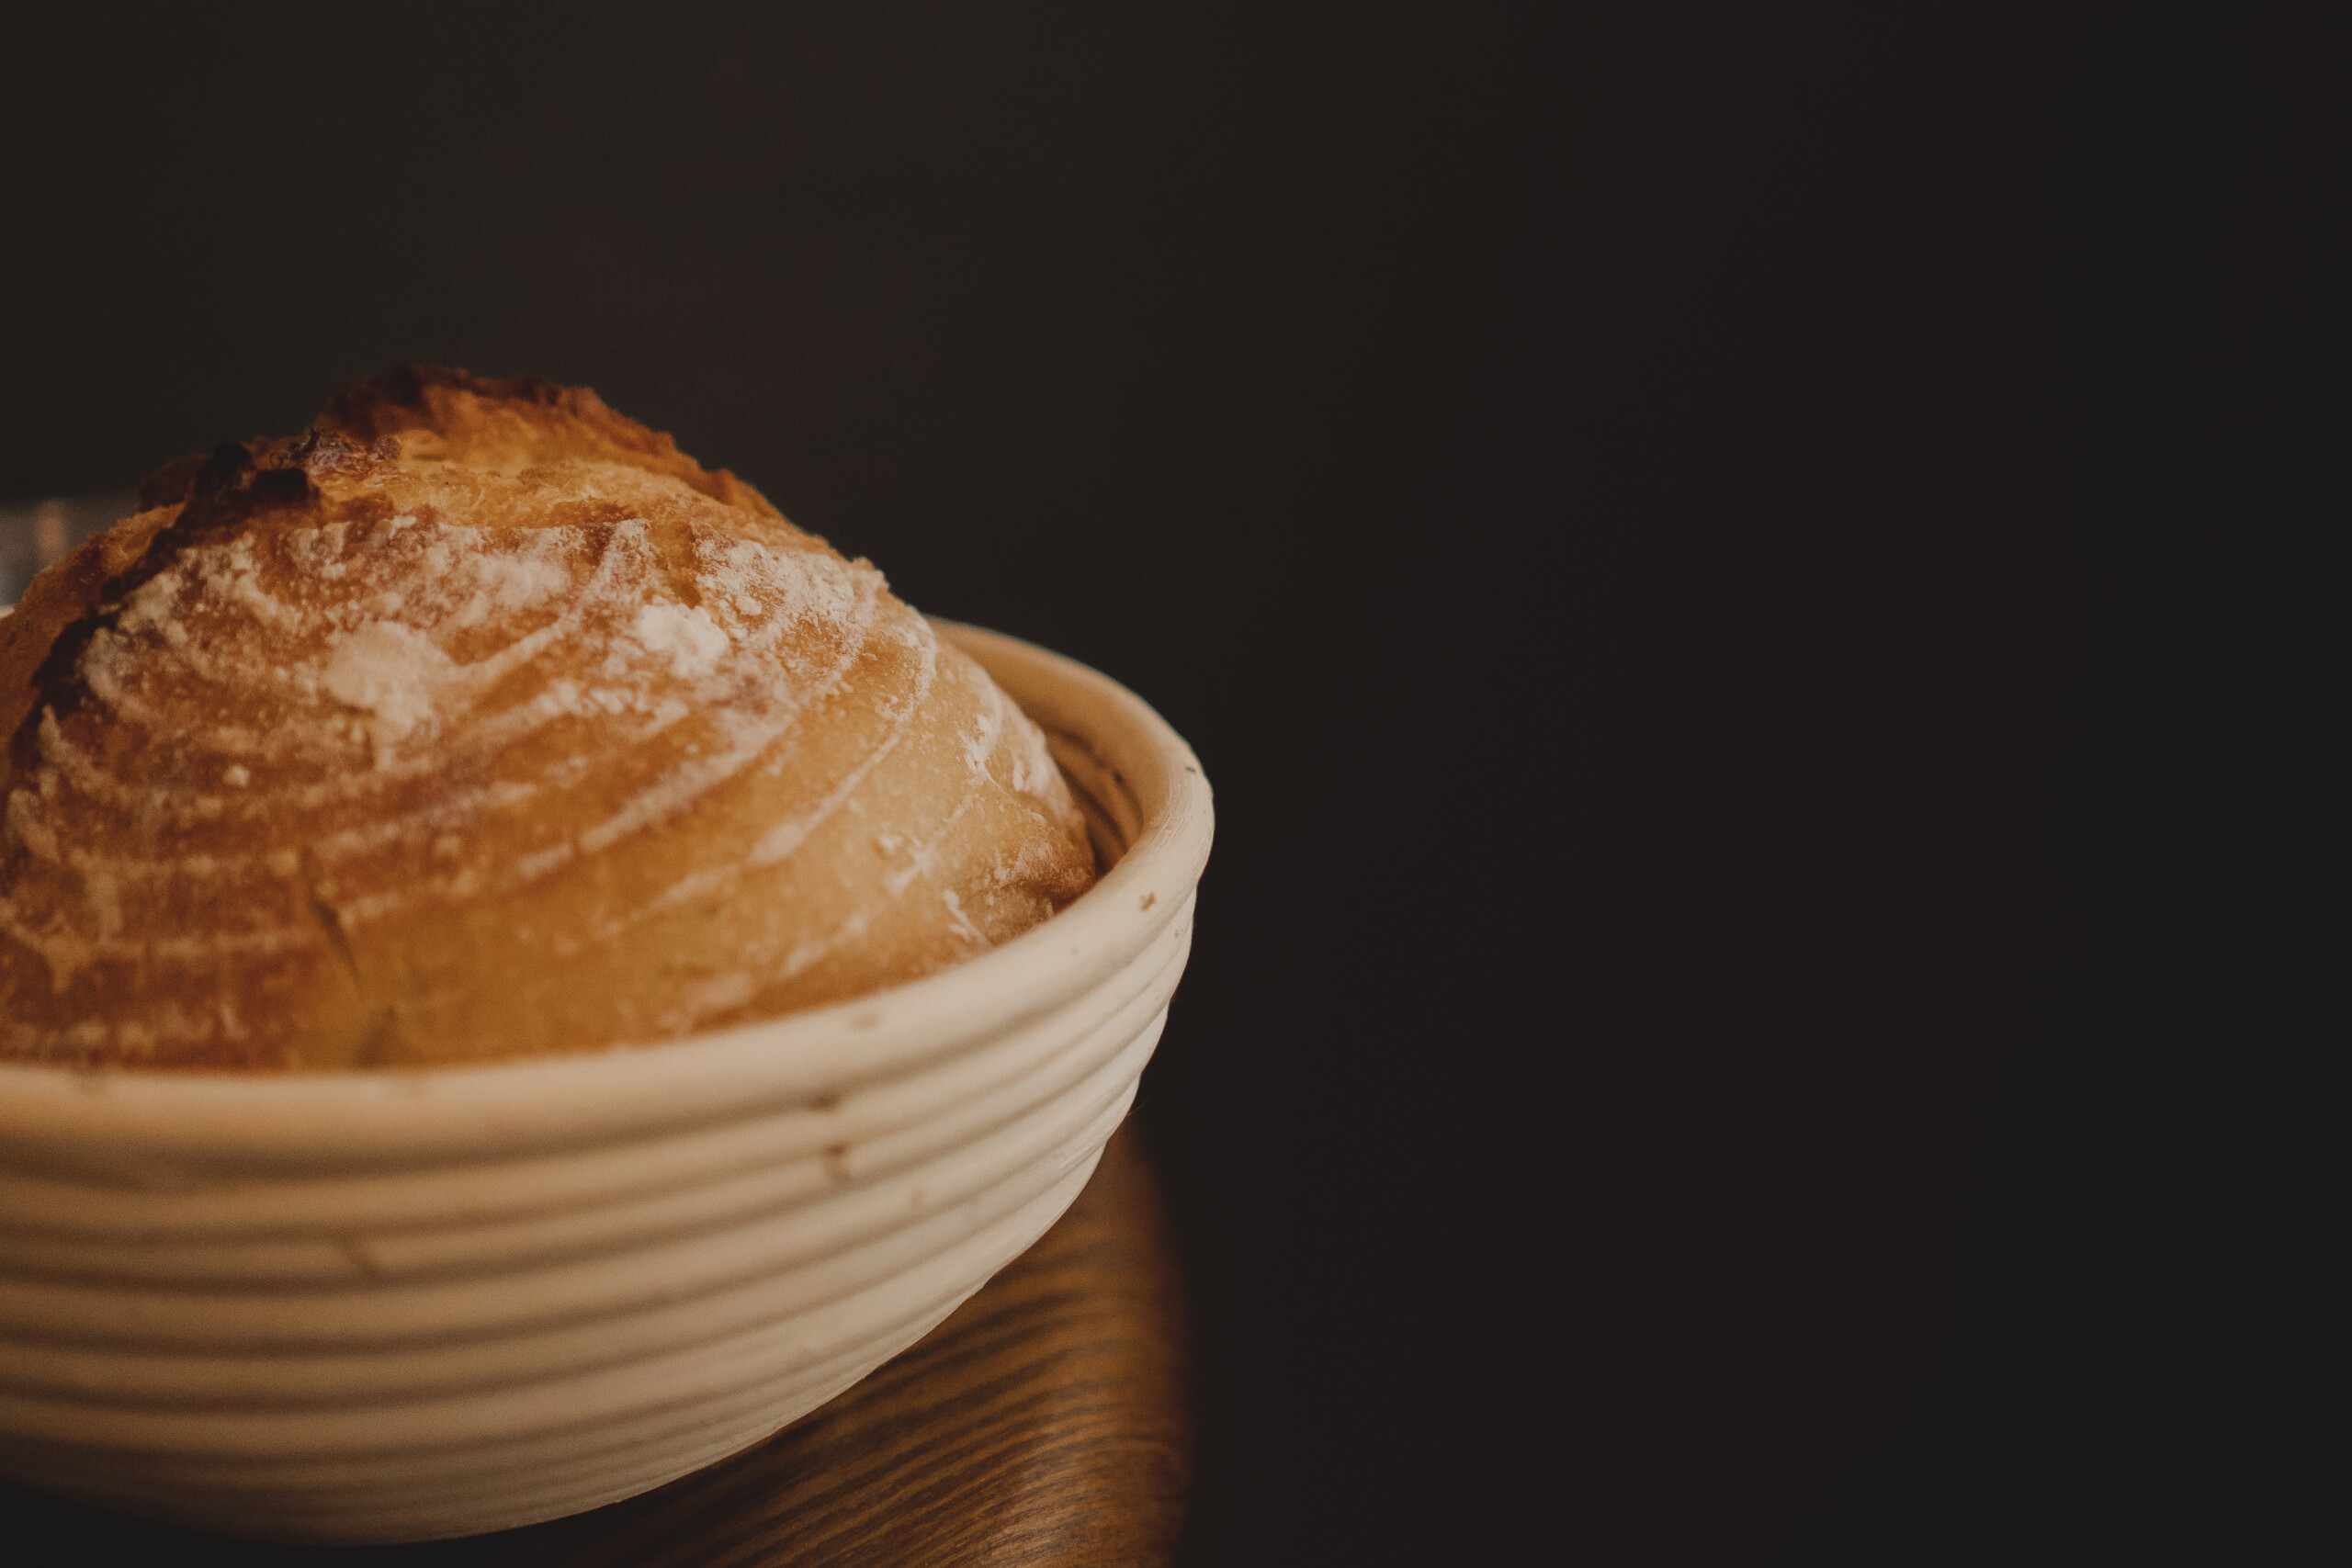
About 6am: Dust a big cutting board or clean kitchen surface with flour (I use gluten free here since it won’t be fermented), and scrape your proofed, now much larger, dough onto flour for shaping. Pull one side at a time over and seal with your fingers like an envelop all the way across the surface of the dough. On the final fold over, gently tuck all of the creases underneath the dough ball, spinning as you move to trap in all the air ubbles. Sprinkle your bread basket (or a bowl) with more gluten free flour and set your shaped ball of dough upside down inside, pinching any creases together to trap all the extra air. Then, cover with towel or bread basket cover.
Let the dough proof for another 60-90 min, depending on the temp in your house. One hour before baking heat your oven to 450F and put your dutch oven with the lid on in your oven to heat up. To test to know it’s ready, gently poke with your finger. The indent should slowly rise, but not bounce back immediately. You’ve over-proofed if it just deflates and doesn’t slowly rise back (if this happens, just bake it like focaccia!).

About 8am: When it’s bake time, flip your bread (creases down) onto a piece of parchment that’s larger than your loaf. Score 4 lines about 1/4 inch deep from outside to middle (not connecting in the middle though). Then, to get a nice chewy crust, pour about 1/8 cup water in your hot dutch oven (optional), and then gently lower the loaf into your pot using the sides of the parchment paper, which will bake with the loaf creating a barrier between the bread and water (careful not to splash hot water on yourself or get it on your bread). Bake at 450F with the lid on for 30 minutes, then remove lid and bake at 450F for another 10-15. Remove from oven, tap bottom and if it’s a hollow sound, you’re spot on!
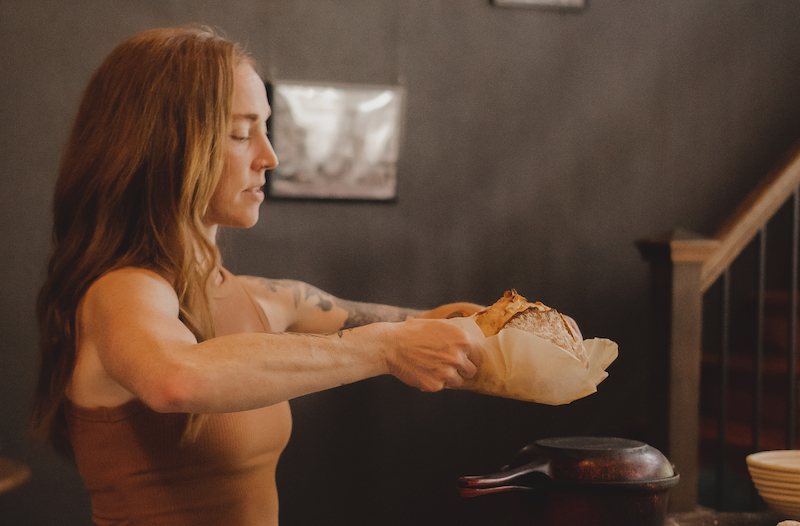
About 8:45am: LET COOL FOR AT LEAST ONE HOUR. I MEAN IT. Slice, feel proud, and ENJOY!

I’ll store my loaves in a bees wax loaf wrapper at room temp, but they rarely last more than two days because we eat them up. If you have more than you can eat before it goes stale, slice and store in a ziplock in the freezer. Toast a slice up and it tastes like it’s fresh!
A Note on half loaves I’ve been baking:
- I use THIS 2.25 qt Le Cruset pot
- half all ingredients
- same prep times
- same proof times
- 1st bake: 25 minutes
- 2nd bake: 5-7 minutes
ENJOY!!
Thank you for being here, friend. I’d love to hear from you. Who’s baking? I’d love to hear your sourdough stories, experiences, wins, and lessons learned. Let’s connect in comments or over on Instagram. Tag me and #sourdoughsisterhood in your sharing!


Hi Laura!
I normally make a different sourdough recipe (tartine’s) so I am excited to try your version. The overnight raise (proof) does not need to happen in the refrigerator? Is a 68 degree room ok for the 12 hours?
Thank you!
Colleen
Hi! Thank you so much. Can’t wait to hear what you think. That should be just fine. Mine sits for 12 hours probably just a little cooler than that (I’m guessing 63-65). I’m curious to see how it does in the warmer months!
At 6pm when you transferred to the glass bowl, what happened to the stretching? (Stretch and “boom” in the video.) Did the 20 minutes in the mixer take the place of that? And do you have any advice if I do not have a mixer strong enough to handle the dough?
Love these explicit directions and looking forward to the full video guide!
Cindy
Hi Cindy! Thanks so much for your comment and for the questions. It’s helped me to make some updates to the guide. Yes, the mixer takes the place of the stretch and fold. I’ve tried both and they each work, but the mixer is simpler and less time intensive. I do think it also makes for a better crumb. I’ve included street and fold steps as well. Enjoy!
Thanks so much for the prompt reply. Maybe someday I will invest in a good mixer, but until then I will be stretching and folding. I am definitely a sourdough beginner but am enjoying your spirit and enthusiasm.
Loving your guidance! So . . . Without a stand mixer, I am stretching and folding hourly four times. Is this in addition to the 6-14 hour proof – or part of it? Doing it first would add 3 hours to the process? Yikes! I don’t know if I’m that dedicated!
Hi Cindy! The folds would be before the ferment starts, but fortunately, the dough is still fermenting during that time. It just needs at least 6 hours to proof. If you go on the shorter end, pop it in the oven (off) with the light off. That will be a warm space for it to proof faster. I promise as you do this, it will get so much simpler and will work with your life.
Hey Laura! You’ve inspired me to make some sourdough! I finally have all the supplies and am so excited. My house is celiac and I was wondering if you’ve ever made a loaf solely with ottos cassava flour? If not, would any gluten free flour work? Thank you!
Hi Barbara! Thank you so much for your comment. Cassava Flour will not work the same as wheat flour, nor will a gluten free flour. I don’t have experience with a wholly gluten free sourdough but I know there are resources out there. Gluten free flours require a different process and will have a unique final product. Sending a hug!
hey Laura.
I got my hands on some starter so have been made my first loaf – which was a bit dense. Loaf number 2 is in the middle of its 12 hr rise right now. Reading the recipe again I am a bit confused by this comment, which I didn’t even notice the first time around.
it says to lower the dough into the dutch oven that you have just put !/8 of water in and to be careful not to get water on your bread… how am I supposed to keen the bread out of the water?
“Then, to get a nice chewy crust, pour about 1/8 cup water in your hot dutch oven, and then gently lower into your pot (careful not to splash hot water on yourself or get it on your bread”
Hi Cathryn! Thank you for your question. This additional step only works if you use the parchment paper, which acts as a barrier between the loaf and the water. Let me know if you have any further questions. Maybe joining our next sourdough sisterhood workshop would be a great next step too. Happy baking!
Hi there! So excited to bake my first loaf!! Thanks so much for putting this together. The link to the dutch oven leads to a 5.5 quart dutch oven but I believe you reference a 3.5 quart one in your recipe. Will this work in a 5.5 quart dutch oven to? Or will it be too big?
Hello Crystal! Definitely best to use the 3.5 qt dutch oven. I appreciate you letting me know. I’ll go edit that now. If you use a larger one, the loaf will be a little flatter. But still delicious!
Ive made 5 loaves using your recipe and timing. (I made one using another sites and it was SO BAD compared to yours!) The only thing i can’t figure out if why all of my loaves don’t rise as well as your photos. They all seem a little flat. I tried less proofing and that didn’t change anything. Im wondering if my starter is not bubbly enough? What exact measurements do you use to feed yours and how frequently do you do that?
Hi Ashley! I do 1/3 cup flour with just a little less than 1/3 cup water. I don’t weight these and often go by feel. If my starter is seeming a little watery, I do less water. I feed 1-2 times a day depending on how often I use it. I also inherited mine from a friend, so she’s very mature which helps. Thanks for baking and for the feedback!
Hey Laura! This is the most amazing guide ever! Ive made 5 loaves using your recipe and timing. (I made one using another sites and it was SO BAD compared to yours!) The only thing i can’t figure out if why all of my loaves don’t rise as well as your photos. They all seem a little flat. I tried less proofing and that didn’t change anything. Im wondering if my starter is not bubbly enough? What exact measurements do you use to feed yours and how frequently do you do that?
Hi Ashley! What size pot are you using? If it’s too big the loaves can sort of melt down without the feedback from the sides of the pot to keep them risen. Also, is your starter floating when you add to the water? I feed 1-2 x a day after discarding 1/4-1/2 cup. I feed 1/3 cup organic white flour and a little less than that water.
Hi! My starter definitely did not float when I added it to the water. Is it supposed to? If so, what can I do to get it to float next time? I feed it daily.
Hi! Floating is a good test of a healthy active starter. Some things to consider: what flour are you using? Ideally, organic unbleached white flour is best. Also, try feeding a little coconut or brown sugar with the next feed. Hope this helps!
I’m working on a starter from Cultures For Health. I’m so excited to start! How do you get the cool swirly design on the top of the bread?
I don’t have a Dutch oven but I do have a glass pot with a lid. I’m hoping that works!
Hello! The swirly design on the top is from the bread basket I use for the second proof. It’s linked in the guide!
I’m working on a starter from Cultures For Health. I’m so excited to start! How do you get the cool swirly design on the top of the bread?
I don’t have a Dutch oven but I do have a glass pot with a lid. I’m hoping that works!
Do you have a source for bulk flour? Seems like I’ll be going through lots!
Hi Dianne! The circles on the loaf come from the bread basket I link to in my guide! I haven’t tried a glass pot. Please check to make sure it can take high heat! And I buy my organic white flour from Costco. They have a great small family farm kind there. I get my einkorn from Jovial!
Do you let your loaf cool in the ditch oven? Or on a cooling rack? Also I’m a new baker and don’t understand the fold and creases step. Any chance you have a video of that step?
Hi! Thanks so much for asking. Pull the loaf from the pot right when you take it out of the oven. I cool on an upside down colander. I’ll be offering more tutorials soon, but for now the Sourdough Sisterhood workshop is a great place for more teaching. We also offer access to a facebook group where we answer all of your questions!
Hi Laura!! I was just gifted a Country Loaf style start (tartine’s recipe) – can this start be used to make sourdough? Can I somehow morph that start into a sourdough starter?? Thank you!! Xo
Hi Ty! Hope you are well! I am going to send you a message on IG so I can see a photo of your start. I think you can, but just want to be sure! Thanks for being here.
Hi Laura, I hope you are doing well! I made my own starter and after 9 days, it’s beautiful and floating, and ready to go. I’ve been making pizza dough and pancakes wth the discard, and loving it. I’m curious to know if you have more information/thoughts on bulking up your starter. Your recipe, which I am excited to try, calls for 200g of starter but as I began mine with 50g APF and 50g water (and have been discarding and feeding it as such), 200g is more than my entire starter right now. I’m a bit unclear as to how to go about getting enough starter to amass 200g (and still have base starter left over). Thanks so much! I am looking forward to joining a workshop soon – I have wanted to, but didn’t realize until I tried to sign up that you needed a starter that was ready to go. So I’m almost there once I bulk it up, and looking forward to joining soon. Thanks!
Hi Kim! I recommend skipping discard for a few feedings to add some bulk. I only discard enough for pancakes, pizza, loaves, etc. and then feed 1/3 cup flour + just under 1/3 water. It keep her happy and fed and ready for more. Hope this helps! It’s so great to hear from you, friend! Love that you’re baking.
That is so helpful, thank you friend!! I’ve been searching the internet and finding it hard to parse through one last question – as I bulk it up, do I stick with my feedings of 50g water and 50g APF (just what I have been using?) OR are you supposed to increase the flour and water based on the weight of the starter when I do the morning feed (so as the starter bulks, the amount of both flour and water increase as the base of starter increases by weight)? Thank you…..I’m sorry if this should be straightforward. I swear I’ve read a dozen pages and can’t quite find a clear answer. Looking forward to having enough for an upcoming workshop. You’re the best!
Hey Laura! Thank you so much for sharing this. I seem to be having trouble figuring out the timing of feeding the starter before using it in the recipe. How long do you typically wait after feeding to use the starter in your bread recipe?
Hi Madison! I typically feed in the morning around 8/9am and then start the loaf process around 5pm. But feeding closer to 5 hours ahead will make for an even more active starter! Let me know if you have more questions.
I love to make multiple
Loaves and give them away to friends. How would I easily double this? Thanks!
Hi Janelle! I love that you’re baking multiples. You can just double the ingredients. When you go to shape after the first ferment, split in two and shape each into a loaf, then bake back to back. Hope this helps!
Thanks! So even double the starter?
Hi Laura! I was gifted starter and am on my 4th attempt. I’m so close I can just feel it! BUT, when the second proof finishes, finger poke test perfect, I flip on to parchment and splat! Completely looses its shape, no nice ball if shaped dough for me! Ant advice?
Hi Amy! It sounds like it’s over-proofed. I’d recommend a shorter first ferment, or putting in the fridge to ferment after 3 hours at room temp.
Hi Laura,
What time do you normally feed your starter to then start the bread at 5 pm? Should it be to the point where it has doubled in size?
Thanks!
Hi! Anywhere between 9am-2pm. I typically feed when I use it only, and that’s most often for Evie’s sourdough pancakes in the morning! It’s usually most active though about 4 hours after feeding.
How many days can you go without feeding if you keep your starter out?
Hi Susan! I try to feed at least every other day if it’s out at room temp. If I leave town or can’t feed for a few days, it goes in the fridge!
I’m curious, does it matter if you feed your starter with unbleached organic white flour instead of Einkorn flour? So as long as the flour used to make the bread is Einkorn makes it more digestible to the gut? I have been attempting to make sourdough bread using purely Einkorn flour, however I have been failing miserably as my starter is fairly new. I’m wondering if my starter will do better with different flours? Have you Had any experience with this? Thank you!
Hi Nikki! I actually only feed with organic unbleached white flour. I use einkorn for baking only. Hope this helps! I’ll make sure that’s extra clear on my guide. I didn’t have a lot of luck with an einkorn starter.
Hi Laura, I’ve been enjoying your posts and great advise with sourdough! Hope you and your family are staying safe and well with this crazy fire season.We had quite a smoky day here in far Northern California and feeling grateful for the cool creek to clear my head and soul.
I’ve had my sourdough for over 20 years(from the Northcoast COOP in Arcata, Ca) and been learning by experimenting because there was not much good information available.I am trying your overnight ferment tonight.
Recently, I’ve been working on a teff injera bread that starts with my sourdough made with King Arthur Organic Bread flour. It is so interesting to work with and super tasty and was wondering if you have any experiences working with teff?
Hi Flora! It’s so great to hear from you. That creek sounds wonderful. Love how old your starter is too! I bet there are so many stories in that starter. I haven’t tried teff, but I sure hope to. I got a wonderful sourdough book from Artisan Bryan, and I believe he has a recipe. We had to evacuate our home because of wild fires, and I am praying that the house and that book are still standing. Thanks for the inspiration! I plan on trying it. Would love to hear how it goes for you.
Hi first time making sourdough bread. Still learning. I put bread on parchment paper and put 1/8th cup in Dutch oven. Placed parchment and bread in Dutch oven and baked according to instructions. But parchment paper baked into bread. What did I do wrong? Bread was still very sticky so not sure if I messed up in the making of the bread.
Hi Katie! Thanks for checking in. How long are you fermenting? It sounds like it might be a little overproofed. You might also try adding about 10-15g more flour and starting there. Enjoy!
Hi Laura,
My Dutch oven says it’s not safe at 450 with the lid on. If I need to adjust the temp to 375, how should I adjust the cooking time?
Thank you
Hi Anna! Thank you for asking. I can’t speak specific to that reduced temp because I haven’t given it a shot, but I’d recommend adding 10 minutes to the first bake and then 5 to the second. Continue checking until you hear that hollow sound when you tap the bottom. Enjoy!
Hi Laura! I love your recipes. I’m finding that after the 20 mins in the mixer my dough is the consistency of a thick, stretchy cake batter. This morning, the batch I’m working on right now seemed even wetter and full of bubbles after sitting overnight – it looks like it had risen high and fallen. When I put it on the counter to shape it, it was so wet that it was impossible to work with, so I unfortunately added a bit more flour to be able to fold / shape it (maybe 1/4 – 1/3 cup) and it became really sticky. Do you think my sourdough starter is too wet to begin with? I’m trying to figure out how to get the glutens to form and have enough structure but I want to avoid adding too much flour and messing up the ratios. Thanks!
Hi Suse! Go ahead and try adding an extra 1/4 cup flour from the start and then trying the stretch and fold method instead of the standing mixer. Let me know how that works out! If it’s still too sticky to work with we can troubleshoot more. Thank you for checking in!
I have been following your recipe to a T- but my loaf continues to be extremely sticky when I go to do my four folds….any advice? Someone suggested a warmer room and less water?
Hi Tessa! Are you doing half or full loaf? If full, try 15g less water to start. A warmer room would actually increase the fermentation and potentially lead to over-proofing, which makes for a sticky deflated loaf. I also recommend trying the stretch and fold method rather than the standing mixer if you haven’t yet. Let me know how that goes!
[…] Radical Roots – Laura offers lots of great info on baking sourdough. […]
Hi! Do you make any adjustments to your measurements/ratios when working with Einkorn vs. all purpose flour? I am finding Einkorn to be super super sticky and am wondering if I should be using less water. Thank you!
Hi1 Yes, often. I go by feel. I’d recommend sticking with the same amount of water, and add about a tablespoon of flour at a time, until you get a less wet consistency. Thank you for asking!
Hello! I just started on my sourdough journey and I noticed that my starter is really runny. When I make the dough, the dough is SO runny. It definitely isn’t like what is in the picture. I feed my starter with einkorn flour and am slowly adding a little more flour and a little less water. in the meantime, should I add more flour to the dough? Its too runny and sticky to even shape.
Hi! So sorry for the delay here. For some reason, I wasn’t getting any comment notifications. Yes, please do a 2:1 ratio of flour to water for your starter, and up the flour by 10g until you get a more workable consistency. Happy baking!
Most recipes call for equal weights starter/flour/water but yours does 425mg water, 200mg starter, 650mg flour. Is that correct?
That is correct. The beauty of sourdough is that you’ll find many different approaches and guides. It’s all about finding what works best for you!
I am a long time fan of the podcast. I have been making sourdough for about a year using a different recipe that never worked…but I am stubborn and kept trying. I bought your e-book and LOVE it. I tried your sourdough bread recipe and it worked almost perfectly the first time! My only issue is the bottom of my bread ALWAYS burns! I use a 7 qt. Dutch oven. Parchment paper. Put 1/4 cup water in after heating the Dutch oven at 450. This last time I tried reducing the bake time from 30 minutes to 25 minutes. It was still burnt but not as bad. Any suggestions? My only thinking is to further reduce bake time but I am afraid the center won’t be cooked through? Any thoughts would be appreciated.
Hello! So sorry for the delay. Somehow my comment notifications were off. Thank you for the kind words and support. It means so much! Try putting a baking sheet on the rack under the pot. That will keep a little of the heat off the bottom. Let me know how this works! Thanks again and happy baking!
OMG you are a genius! I did your baking sheet trick today and it worked! No burnt crust on the bottom! My 5 year old was pretty happy and excited. She hated that we had to cut the black crust off. She is my eco conservationist 🙂 Thank you!!!
I got your starter and cookbook for Christmas but I’ve been so nervous to start the process because I’m afraid I’m going to mess up the starter🙈 Could I substitute the Einkorn flour for all purpose unbleached flour? Or is your recipe specific for Einkorn?
I use all kinds of flours. I’ve used Einkorn, Spelt, but mostly use organic unbleached white. Always feed with white, though!
Hi, if I don’t have parchment paper can I use something else?
Desperate!!
Hi Connie! Not that I know of. You could likely put it straight in the dutch oven, but there’s a chance the loaf could stick. Parchment is at all groceries! Enjoy!!
Hi,
I used foil paper and sprinkled flor and then loaded the dough on it. It tuned out beautiful!! I found my answer on Google!!
Thank you!
perfect! Thank you for sharing!
I’m not sure how I missed the comments prior to making my first load, but I did lol. I’ve been wanting to use my starter for einkorn sourdough. I’m not sure why my loaf was the way it was, but it was. I used einkorn, my kitchen was on the cooler side, it took about 12 hours to do its thing, and then I stuck it in the fridge because I wasn’t able to bake when it was proofed. I took it from the fridge a few hours later and attempted to shape it and it was literally a gooey mess. I floored my surface and did what I could. I didn’t wanted a round boule but rather a loaf so after “shaping” I put it into a parchment covered stone loaf pan. Once 60-90 minutes elapsed I had my oven ready to go with another loaf pan in it warming up. I transferred it into the loaf and let it back at 425° (the loaf pan isn’t rated for any hotter). It took about 45 minutes to reach 199°. I didn’t have high hopes because of the goop that I placed into a ball/loaf prior to baking. It actually looked quite nice when it finished baking. I covered it with a clean dish towel and went to bed. When I woke up it was pretty hard. I decided to use my sliced to slice it as I normally do with my loaves. I was SO surprised! It had a nice crumb, it was moist, a bit spongy – all the things I love in a loaf. I have no idea how goop turned out so well, but it did. Hope my next loaf turns out just as good
There’s something magic about einkorn! They’re always goopy and then beautiful. To make it easier to work with, you could add an extra 10-20g flour. Happy baking! Sending love!
Hi!! Do you feed your starter after you use it?
Oh and also, I live at 5000ft in a very dry climate. The dough was very dry so I added a little more water before first rest. I’m the future, is this good practice to continue?
Hello! Yes, because of how often we use our starter, I always feed right after using. And yes, climate definitely will impact these ratios a bit. Good for you for using your intuition on that and adding more water!
Lauren
Do you just add 1/3 water and flour to your jar of starter regardless of the qty of starter that’s in the jar already? I’ve read so many renditions that all say take 10-20gms of starter then feed with equal parts flour and water in ration 2:1… and in that case there is so much waste! I’m misunderstanding this aspect somehow!
Thx for the explanation in advance
Neve (Niamh)
Hey there! I always discard ahead of time, usually to make a loaf or one of the recipes in my book. The amount varies, but yes, always discard. And then play around with 1:1 or 2:1 feeding ratio depending on the environment and temp in your home. As you get to know your starter, you’ll know what’s best! Enjoy!
Do you have any gluten free sourdough starter and recipe suggestions, resources?
Hi Julia, I a do not. I actually don’t tolerate gluten, but can eat my sourdough just fine. The 12+ hour fermentation reduces the gluten to almost negligible amounts and I shape with gf flour. That said, I hope you are able to find what works best for you!
Is the 3.5qt cast iron important? I have a 4.25 and a 3 and I’d really like to not have to buy another but your bread looks so good! Ahh
just made thus and it turned out AMAZING AND SO EASY!!!
how often do you clean your bread basket liner? do you just brush it oit between bread baking sessions?
Hey! I don’t actually clean it more than 2x a year but I do scrape off excess flour between bakes. Thank you for the feedback so glad you found the guide easy!! Happy baking!
[…] current go-to recipe for sourdough bread is this one from Laura over at Radical Roots. Our family is looooving the einkorn bread this recipe results in, […]
[…] musings at myradicalroots.com. Follow: Laura.radical roots on IG Visit: Myradicalroots.com Bake: myradicalroots.com/sourdough-guide Listen: modernmamaspodcast.com/ Thanks for listening to the new Balanced Bites Podcast! PLEASE […]
Hi Laura! Great recipe! I keep coming back to this recipe over and over again! My dad and I had been making sourdough together for 5+ years and this was our go-to. It always produced reliable results. Unfortunately, he passed away unexpectedly last year and now I’m continuing the tradition and keeping his starter alive. Making this recipe is now therapy for me.
Anyway, with him gone, I’ve lost my experimentation partner and the one who truly knew the science behind the dough. So, my question to you is: At the 6am step, when you say “ I use gluten free here since it won’t be fermented”…. What is the reason behind this comment? Does that mean if you were to do a long cold ferment in the fridge, you wouldn’t choose gluten free? I’ve recently been experimenting with longer cold ferments and I get a bouncier, spongier result (which my kids really like). Should I not be using gluten free flour at this step? Thanks!
Hey there! Thank you for the note and kind words. I use gf flour for shaping because I do not tolerate unfermented flour well. The flour used to shape does not get fermented along with the dough, so I choose to shape with gluten free. I hope this helps. Happy baking! Love that you share the experience with your dad.
My oven has a proof setting. Do you recommend that for any part of the raise process?
How cool! That is great for if you’d like to speed up the process- get your starter active more quickly or bake a loaf faster. It’s also awesome if your house is cool. I’ll often use my oven with the light off for the same effect. Happy baking!
Hi, Laura! I have been using your recipe and I love it! I am wondering though if I am doing something wrong because the crust is so tough it’s hard to cut into. I don’t add the water like you suggested to see if that helps but it still seems really hard to cut into. I have a bread knife that I use. Do you have any suggestions to make it easier to cut?
Hey there! You might need to bake at a cooler temp for a little longer so it bakes through without getting to crispy on the outside. Every oven is so different, so it’s hard to know for sure, but this could help.